Jan 22, 2020 | 4 minutes
How to Use the Google Sheets Watch Changes Module
Learn how to automatically send an email whenever a Google spreadsheet is updated. A step-by-step guide from your friends at Integromat!
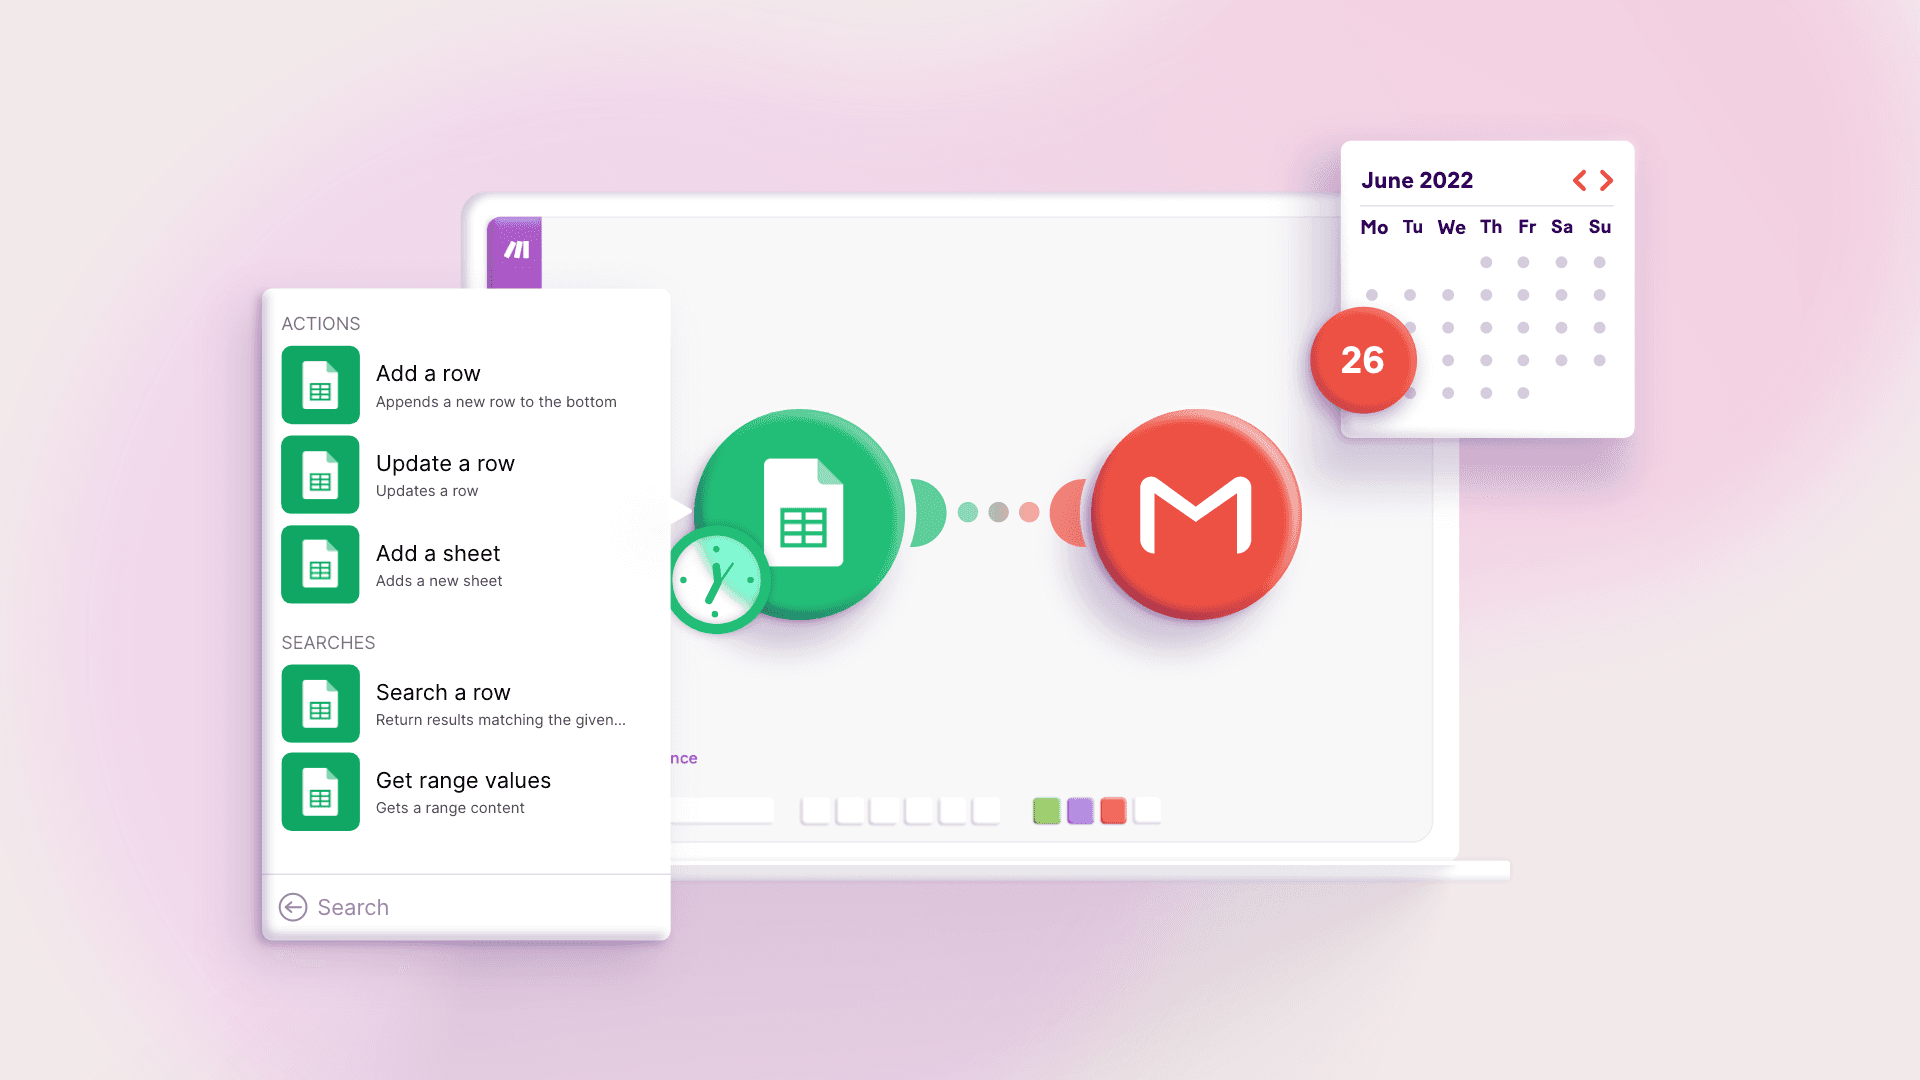
What this scenario does: Watches for changes on a Google Sheet, instantly retrieves the new information and emails the information to the intended recipient.
Level of difficulty: Beginner
Implementation Time: Approximately 20 mins
Prerequisites: The following is needed to set up the scenario: A Google account for Google Sheets and Gmail
If you like to learn more about these apps, check out our support articles on Google Sheets and Gmail. ‘Webhooks are Wonderful’ is an expression you will hear on Make, but what makes them wonderful?
Well, a Webhook delivers instant notifications whenever a certain change occurs in the third party service. Keyword — Instant. As opposed to scheduling a scenario to execute every 15 minutes for example.
Sometimes referred to as a ‘Reverse API’, it’s basically a ‘don’t call us, we’ll call you’ concept. This tutorial shows you how to create a simple scenario that receives information instantly using a Webhook.
Let’s get to it.
Step 1: Add the Google Sheets app
Create a Google sheet and label it. We have labeled ours Time-sheet. Make sure to add column headers describing the data that you want to store in the sheet:
Go over to your Make dashboard. To create the scenario, click on the Create a new scenario button on the top right corner:
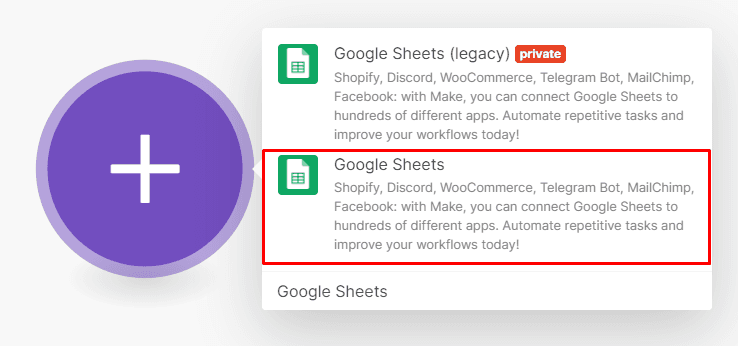
You will see an empty module with a plus sign. Click on the plus sign, search for the Google Sheets app and select it:
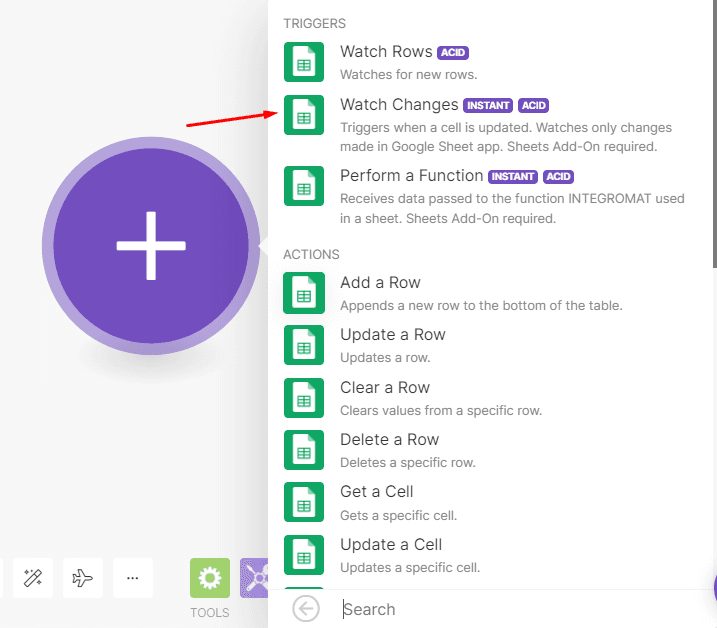
Now click on the Watch changes trigger module since you want to watch for any changes on the Google Sheet. You will notice that it has an Instant tag:
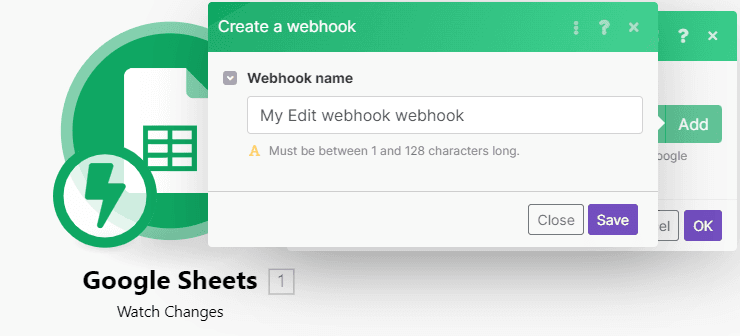
Now you need to add a Webhook by clicking Add or select an existing one from the dropdown list:
You can edit your Webhook name and click Save.
Step 2: Install the Integromat add-on
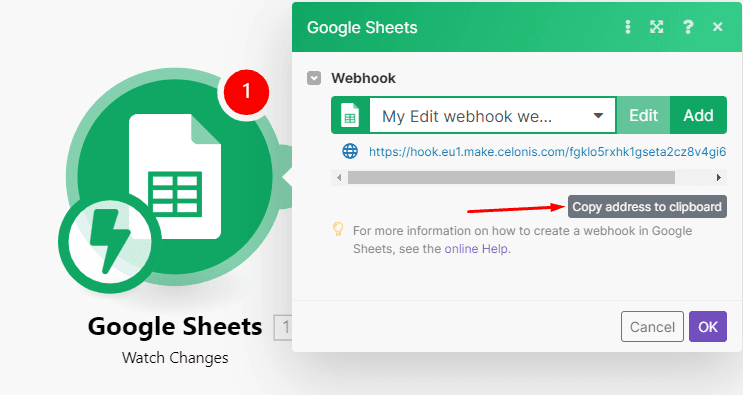
Next, you need to install the Integromat Add-on to the Google Sheet (please note that the add-on is still labelled as Integromat, not Make). Click Copy address to clipboard in the Google Sheets module:
Now go over to your spreadsheet again. In order to use instant triggers, the Integromat Add-on must be installed and a connection between the Make module and the Google Sheets module must be established. Click on the Add-ons tab and then click Get add-ons:
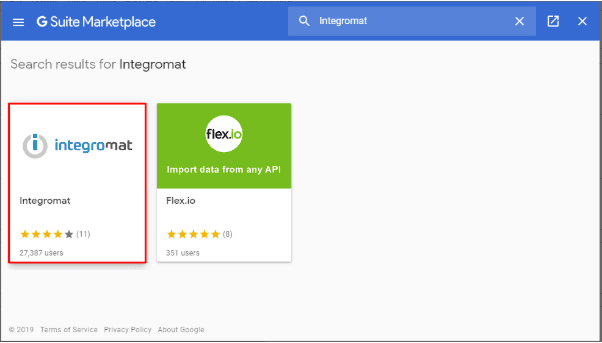
Search for Integromat and click on the thumbnail:
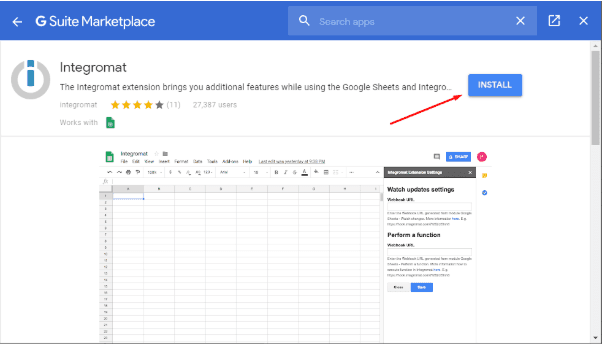
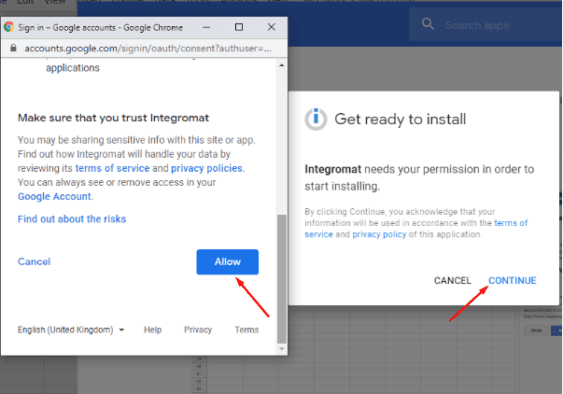
Click Install and then Continue:
Now click Allow to grant Integromat access rights:
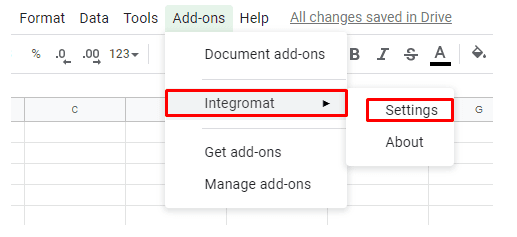
Once the installation is complete, click on the Add-on tab again, select Integromat and click Settings:
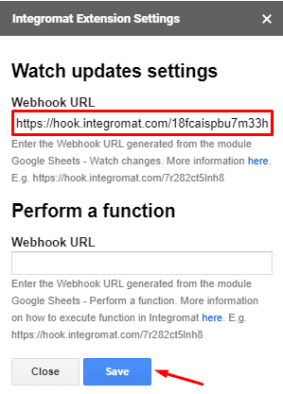
Finally, paste the link into the Webhook URL field and click Save:
The Webhook has been successfully added to the sheet and the Google Sheets module is fully setup!
Step 3: Add a perform an action module
Here you can add an action module of the app you would like to use. In this particular example, we are using the Gmail app and the Send an email module.
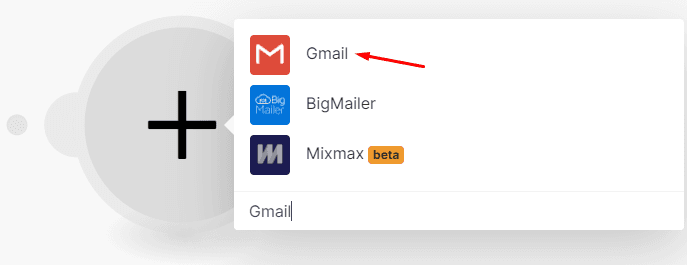
Click on the small circle on the right of the Google Sheets module to add another module. Search for the Gmail app in the search box and select it:
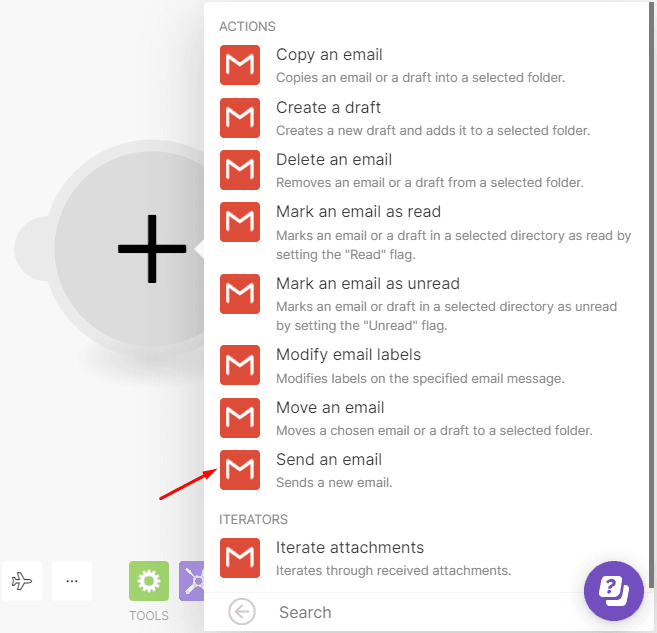
Next, select the Send an email module:
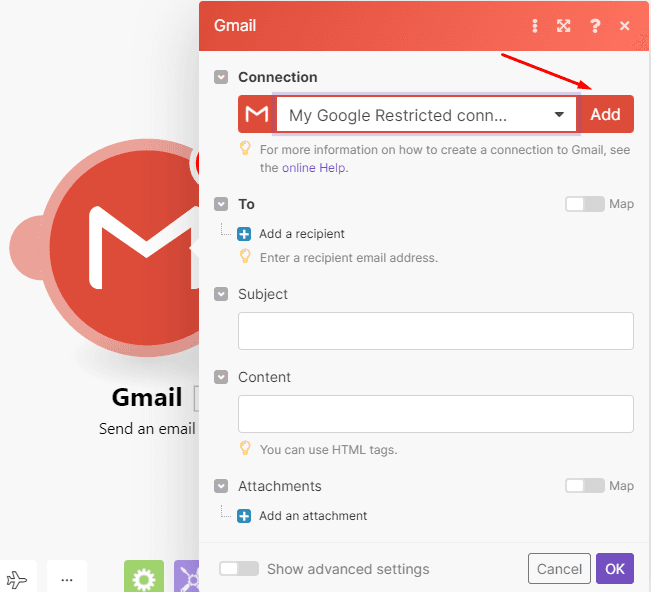
Make needs to know which account to connect to. Click the Add button and connect your Google account or select an existing one from the drop-down list:
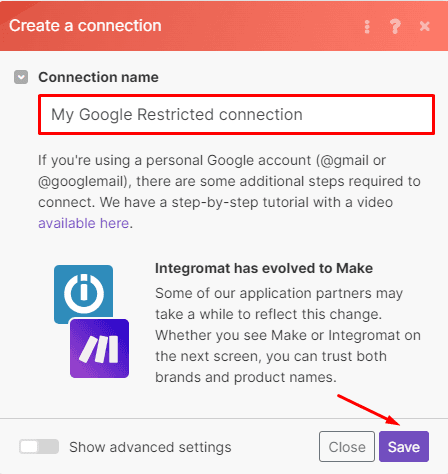
You can edit your connection name and click save:
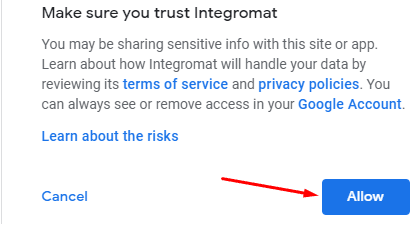
Sign into your Google account and click the Allow button at the bottom right to grant Make access to your account:
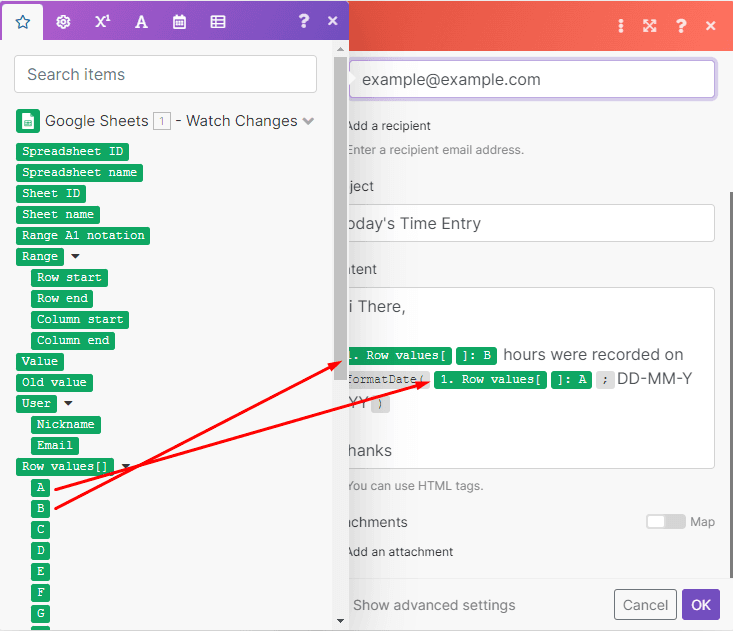
Add the recipient’s email address and the subject line. In the content box, add the required content and map the Row values [1]: A and Row values [1]: B elements from the Google Sheet:
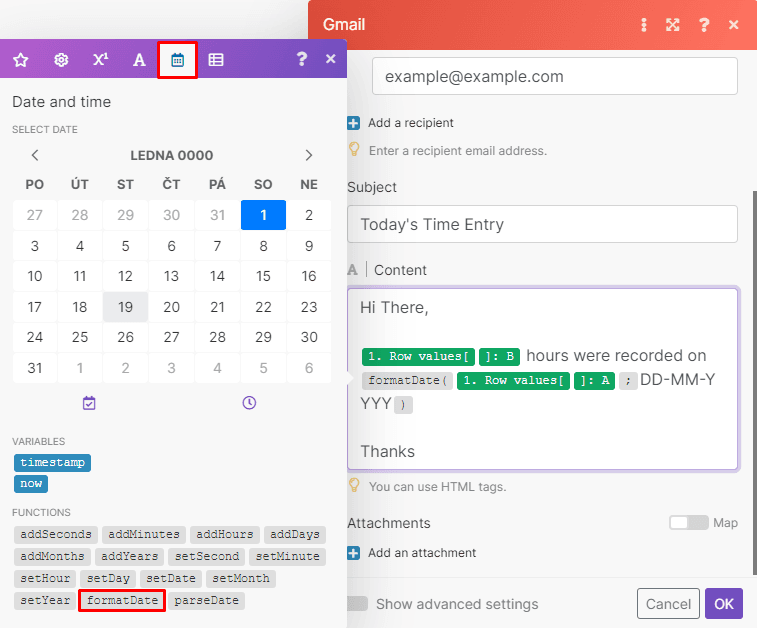
Functions are extremely useful and widely used as it transforms item values to various forms. The formatDate**function has been used to format the date to DD-MM-YY. This function is found under the [Date and time**](https://www.make.com/en/help/functions/date---time-functions) tab:
The Gmail module is now fully setup!
Step 4: Test the scenario
It’s time to test the scenario. First, save the scenario by clicking the Save button at the bottom of the screen:
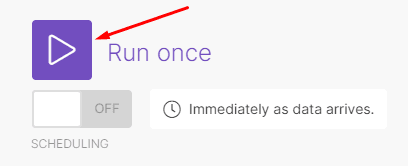
Now click the Run once button to execute the scenario:
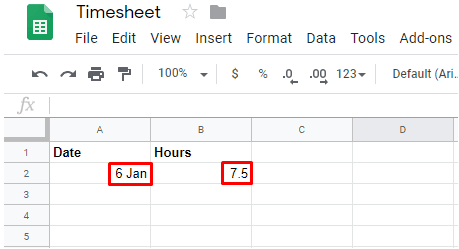
Go back to the sheet and simply add at least 1 row of data:
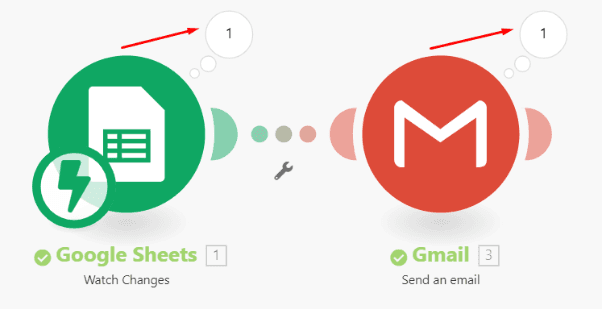
Here you can see that the execution was successful. Click the numbered circles to view the output of each module. This number signifies the number of operations consumed by each module in a single execution:
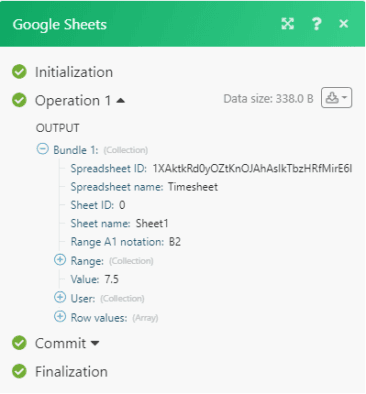
Here you can see that the Google Sheets module outputted 1 bundle of data corresponding to the row of data on the sheet:
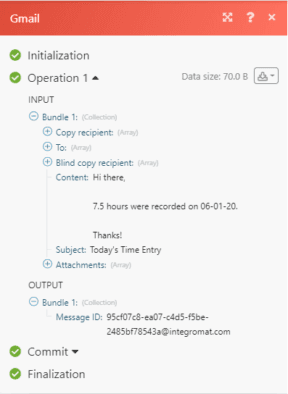
If you view the output of the Gmail module, you can see that the bundle of data passed through from the Google Sheets module to this module as an input and the email with the required information was sent to the intended recipient:
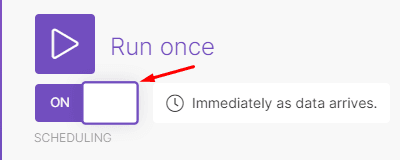
Since the test was successful, the last thing to do is to set the scenario On by clicking the switch at the bottom left corner:
And that’s it! Now you can create a simple scenario that watches for changes on a Google Sheet and receive the new information instantly!
Happy Automating!
Ready to make the automation revolution happen?

Wayne Govender
Solutions Architect at Make who loves all things tech with a focus on workflow automation. Also enjoys fitness and spending too much time on YouTube.


