Adobe CC Libraries
With Adobe CC Libraries modules in Make, you can watch new elements and updated elements, list, retrieve, upload, and archive elements, new and updated libraries, and call APIs.
To get started with Adobe CC Libraries, create an account at adobe.com/creativecloud.
For a list of all available endpoints, refer to the Adobe CC Libraries API Documentation.
Connect Adobe CC Libraries to Make
To connect your Adobe CC Libraries account to Make:
Log in to your Make account, insert any Adobe CC Libraries module in your scenario, and click Create a Connection.
Optional: In the Connection name field, enter a name for the connection.
Optional: Click Show Advanced Settings and enter the client credentials from your custom app.
Click Save.
You have successfully established the connection. You can now edit your scenario and add more Adobe CC Libraries modules. If your connection needs reauthorization at any point, follow the connection renewal steps here.
Create Custom App and Client Credentials
To create custom app:
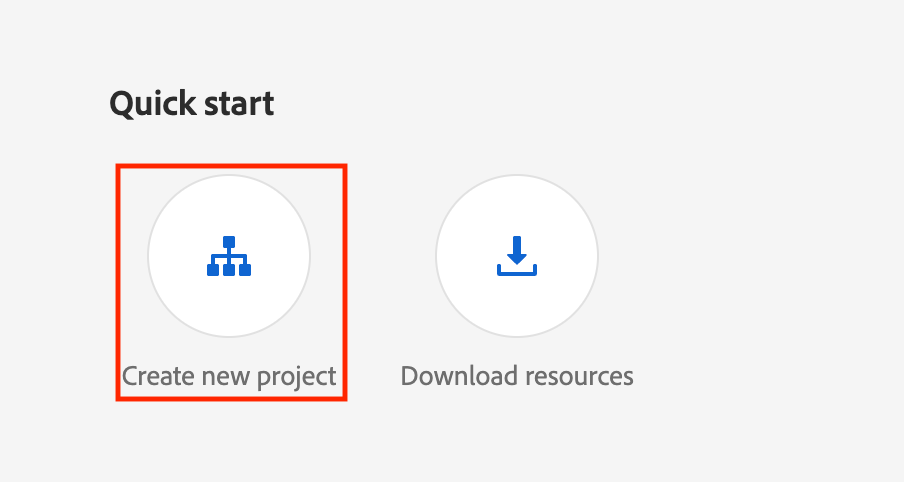
Log in to Developer Console and click Create new project.
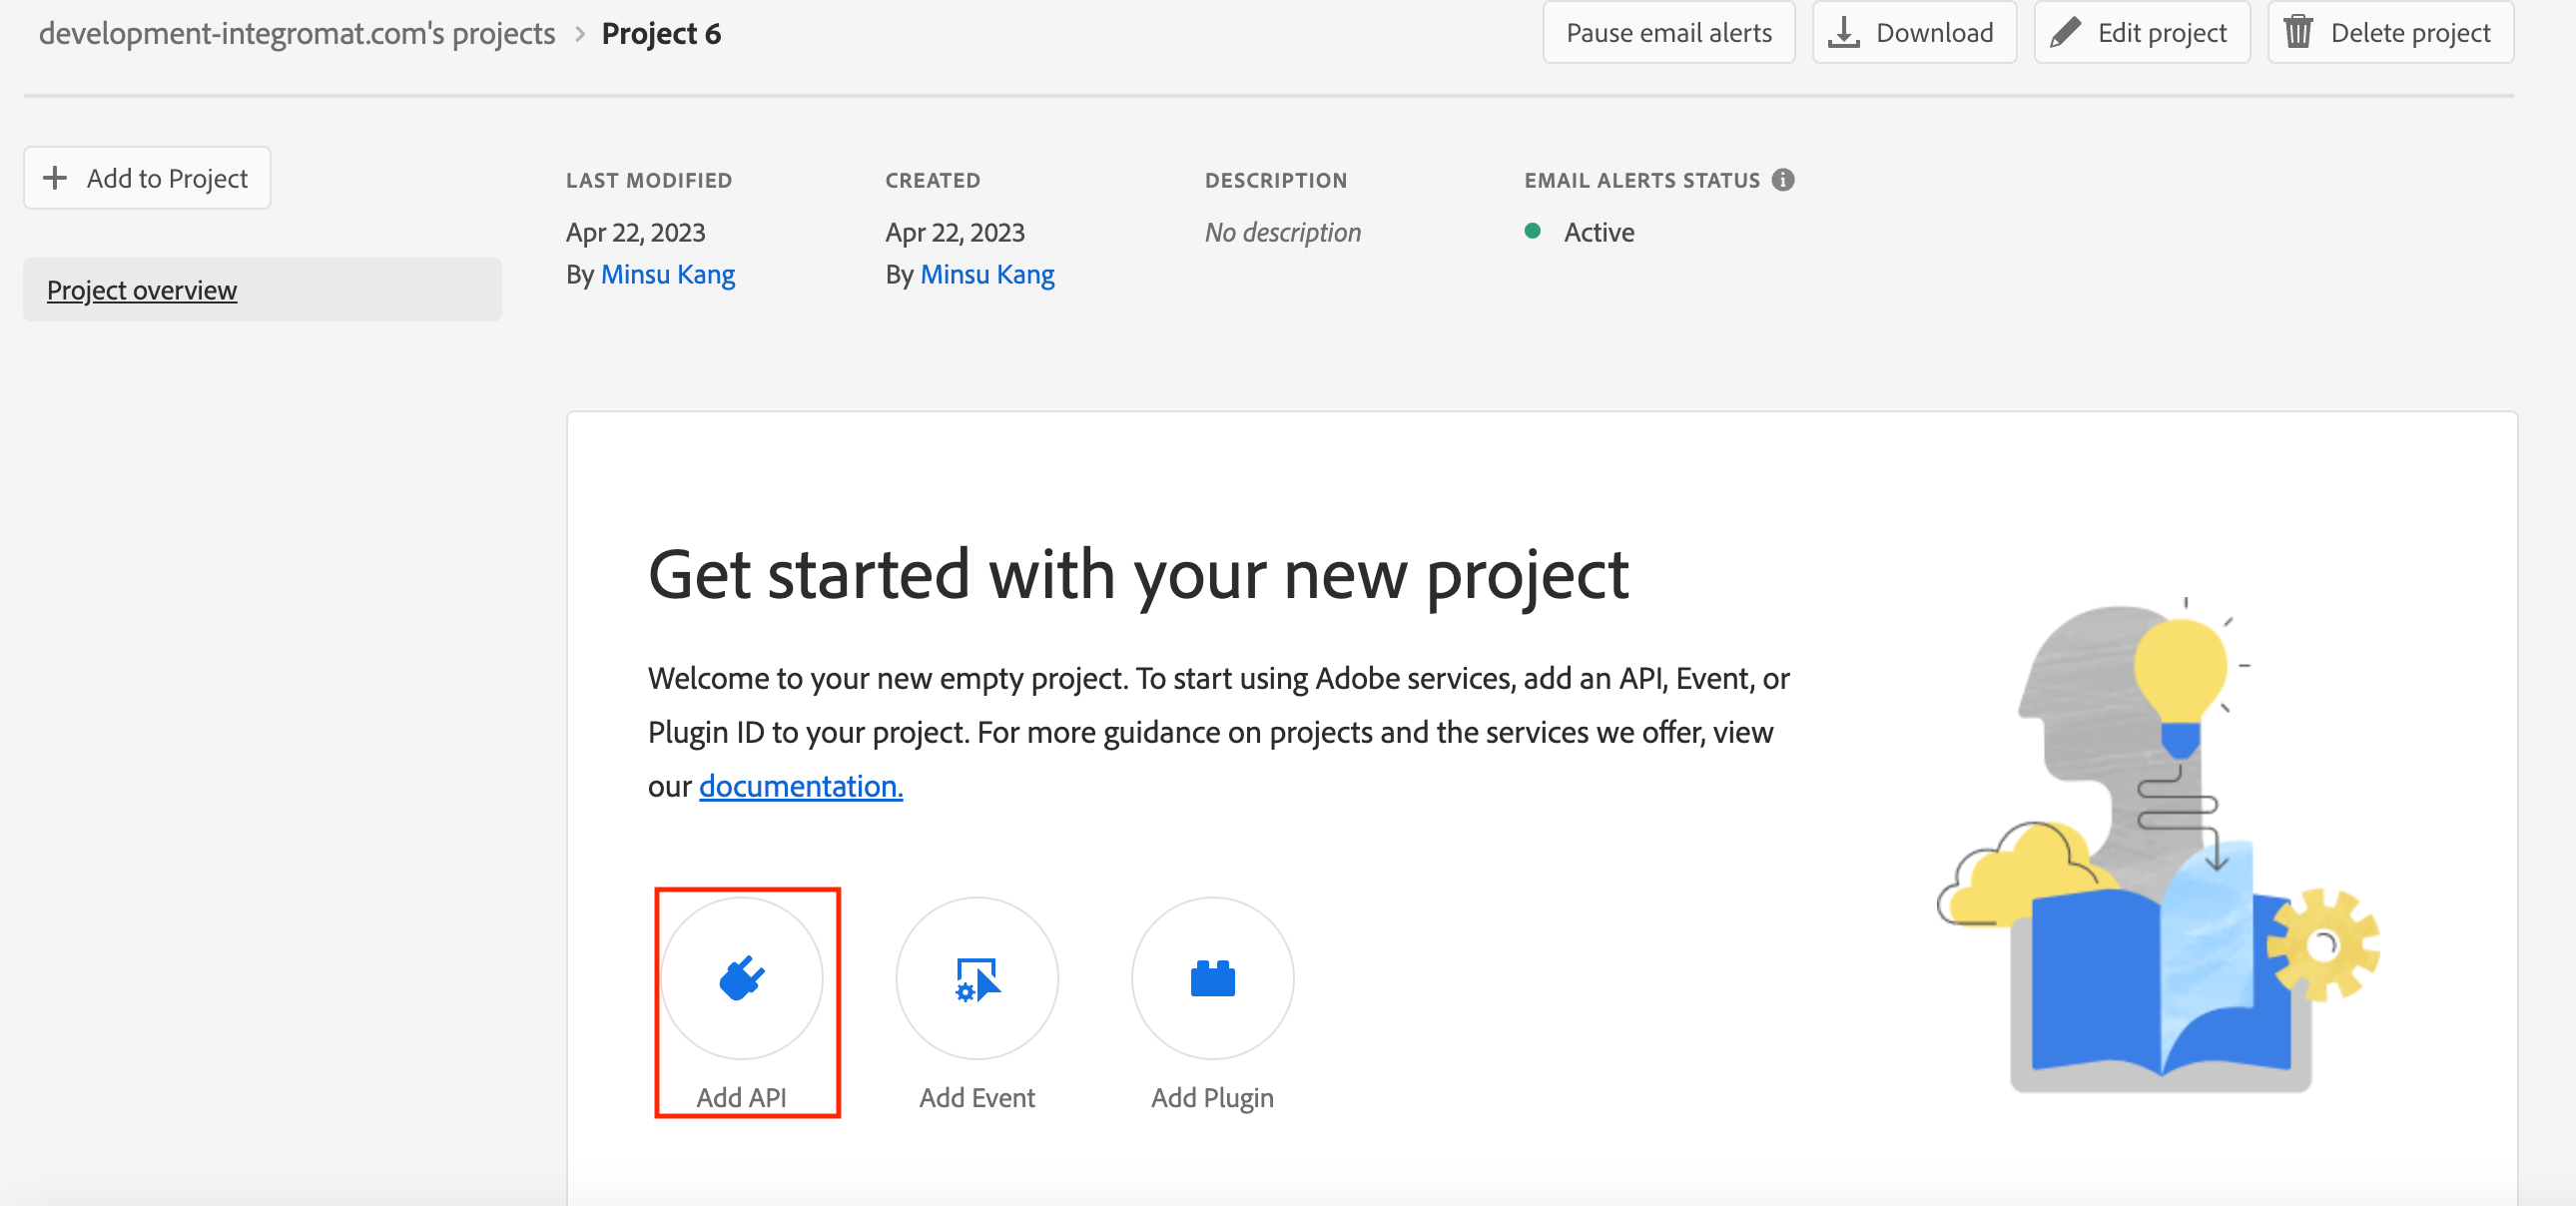
Select the project and click ADD API.
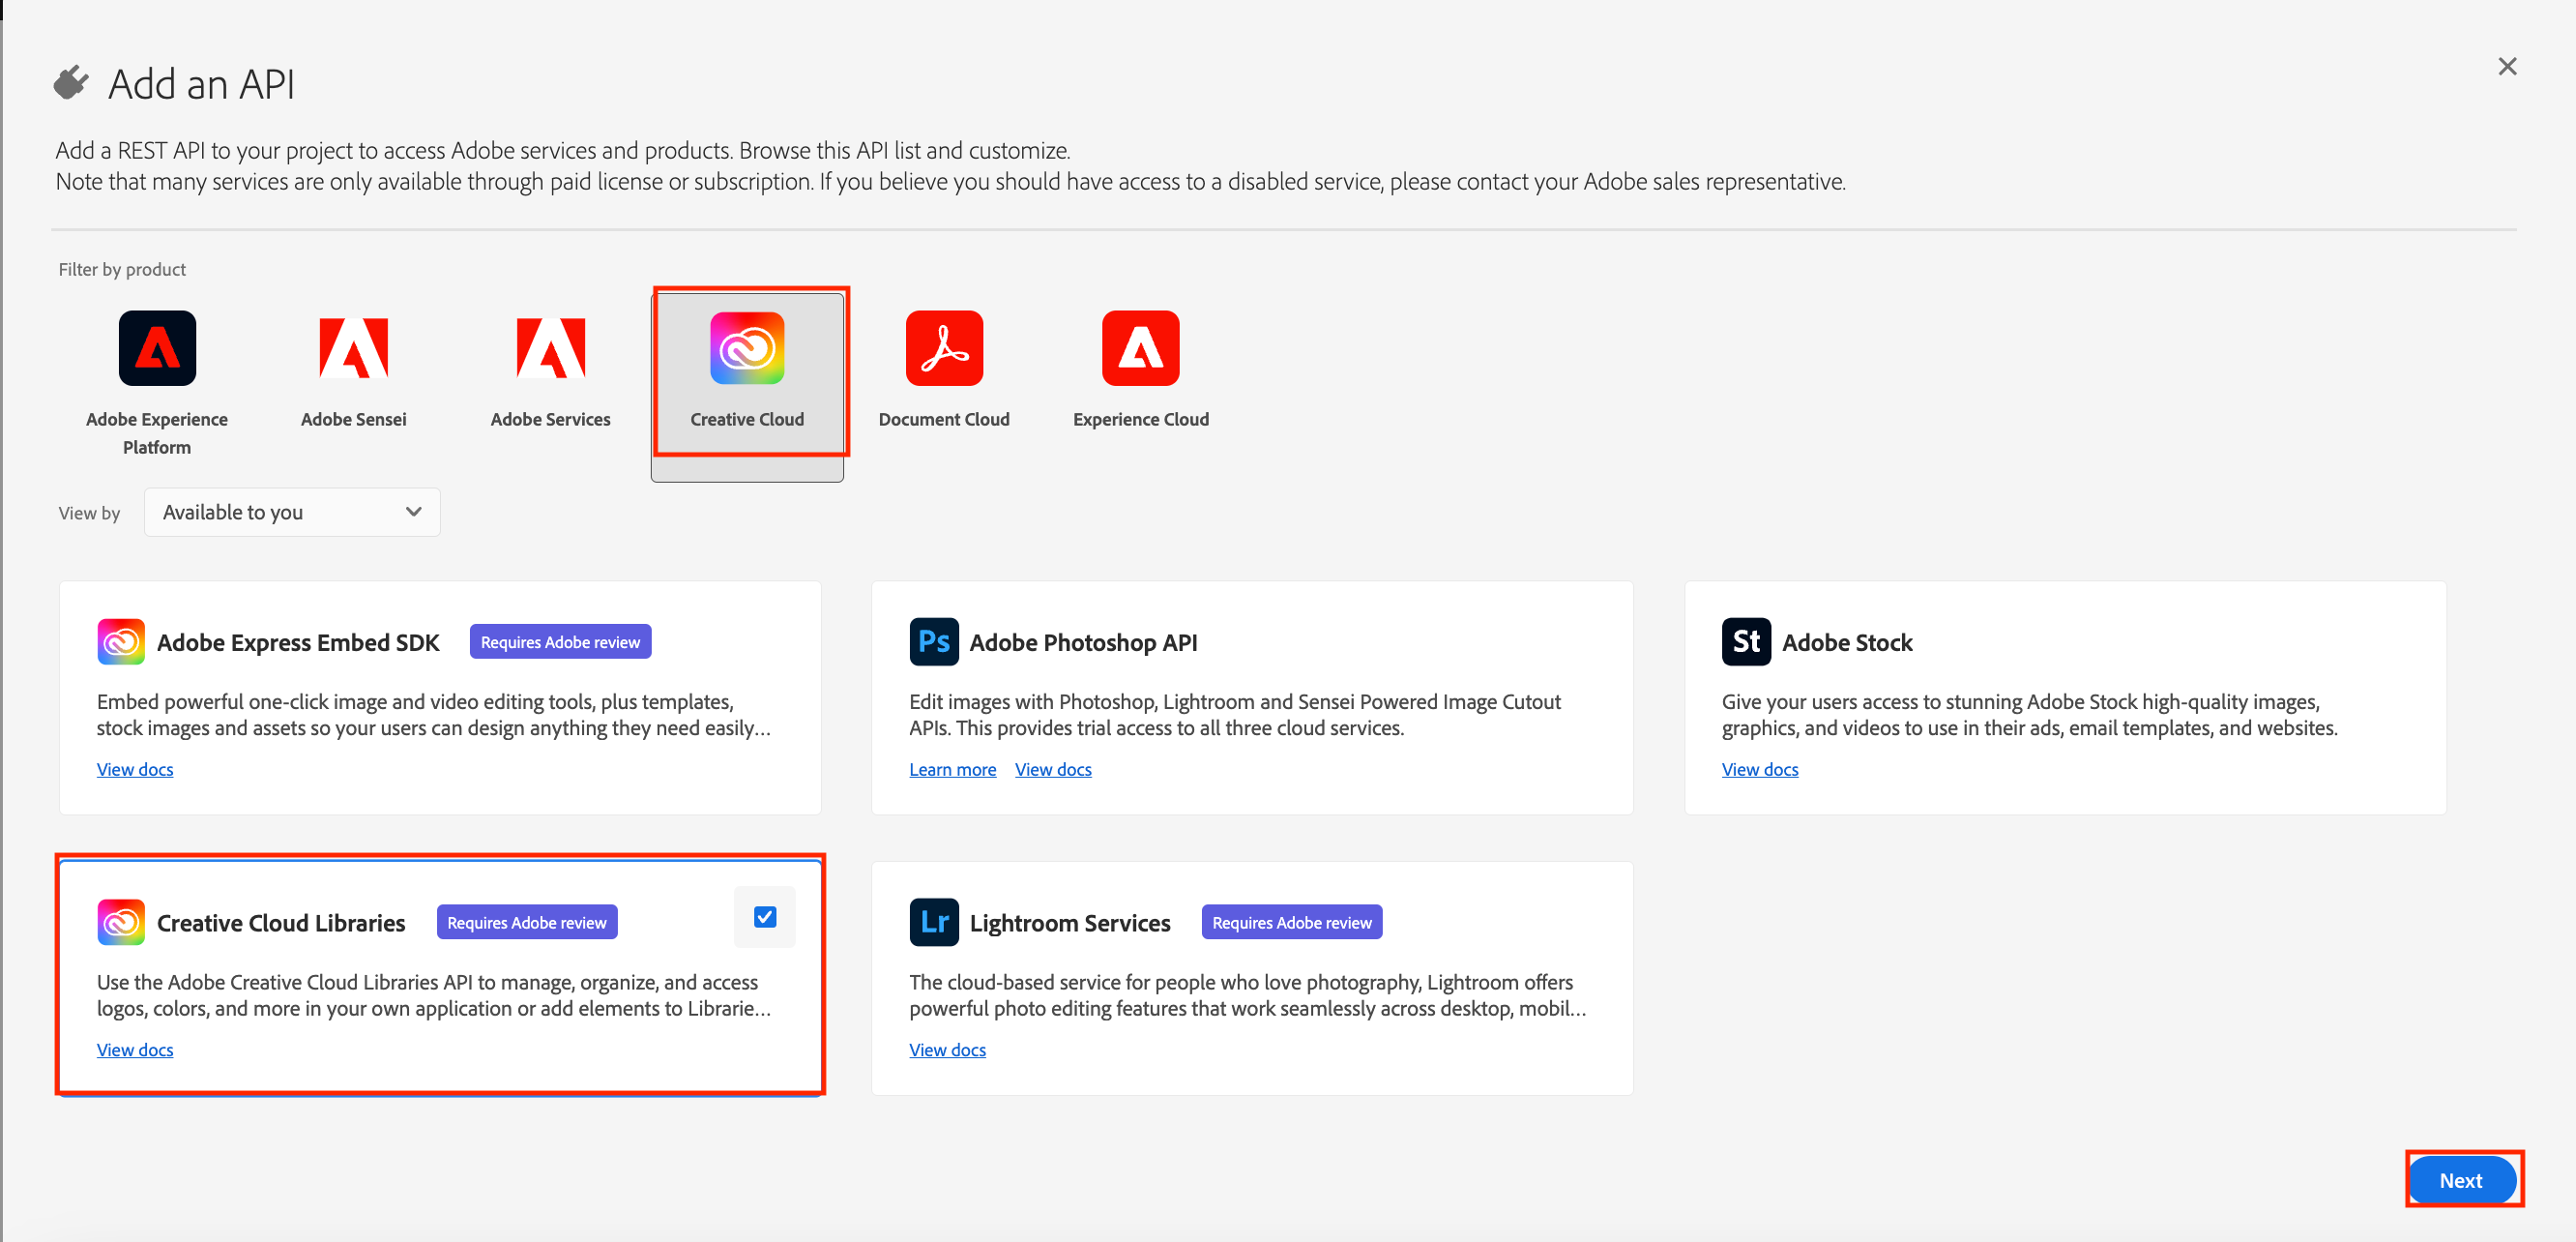
Select the product as Create Cloud and API as Creative Cloud CC Libraries.
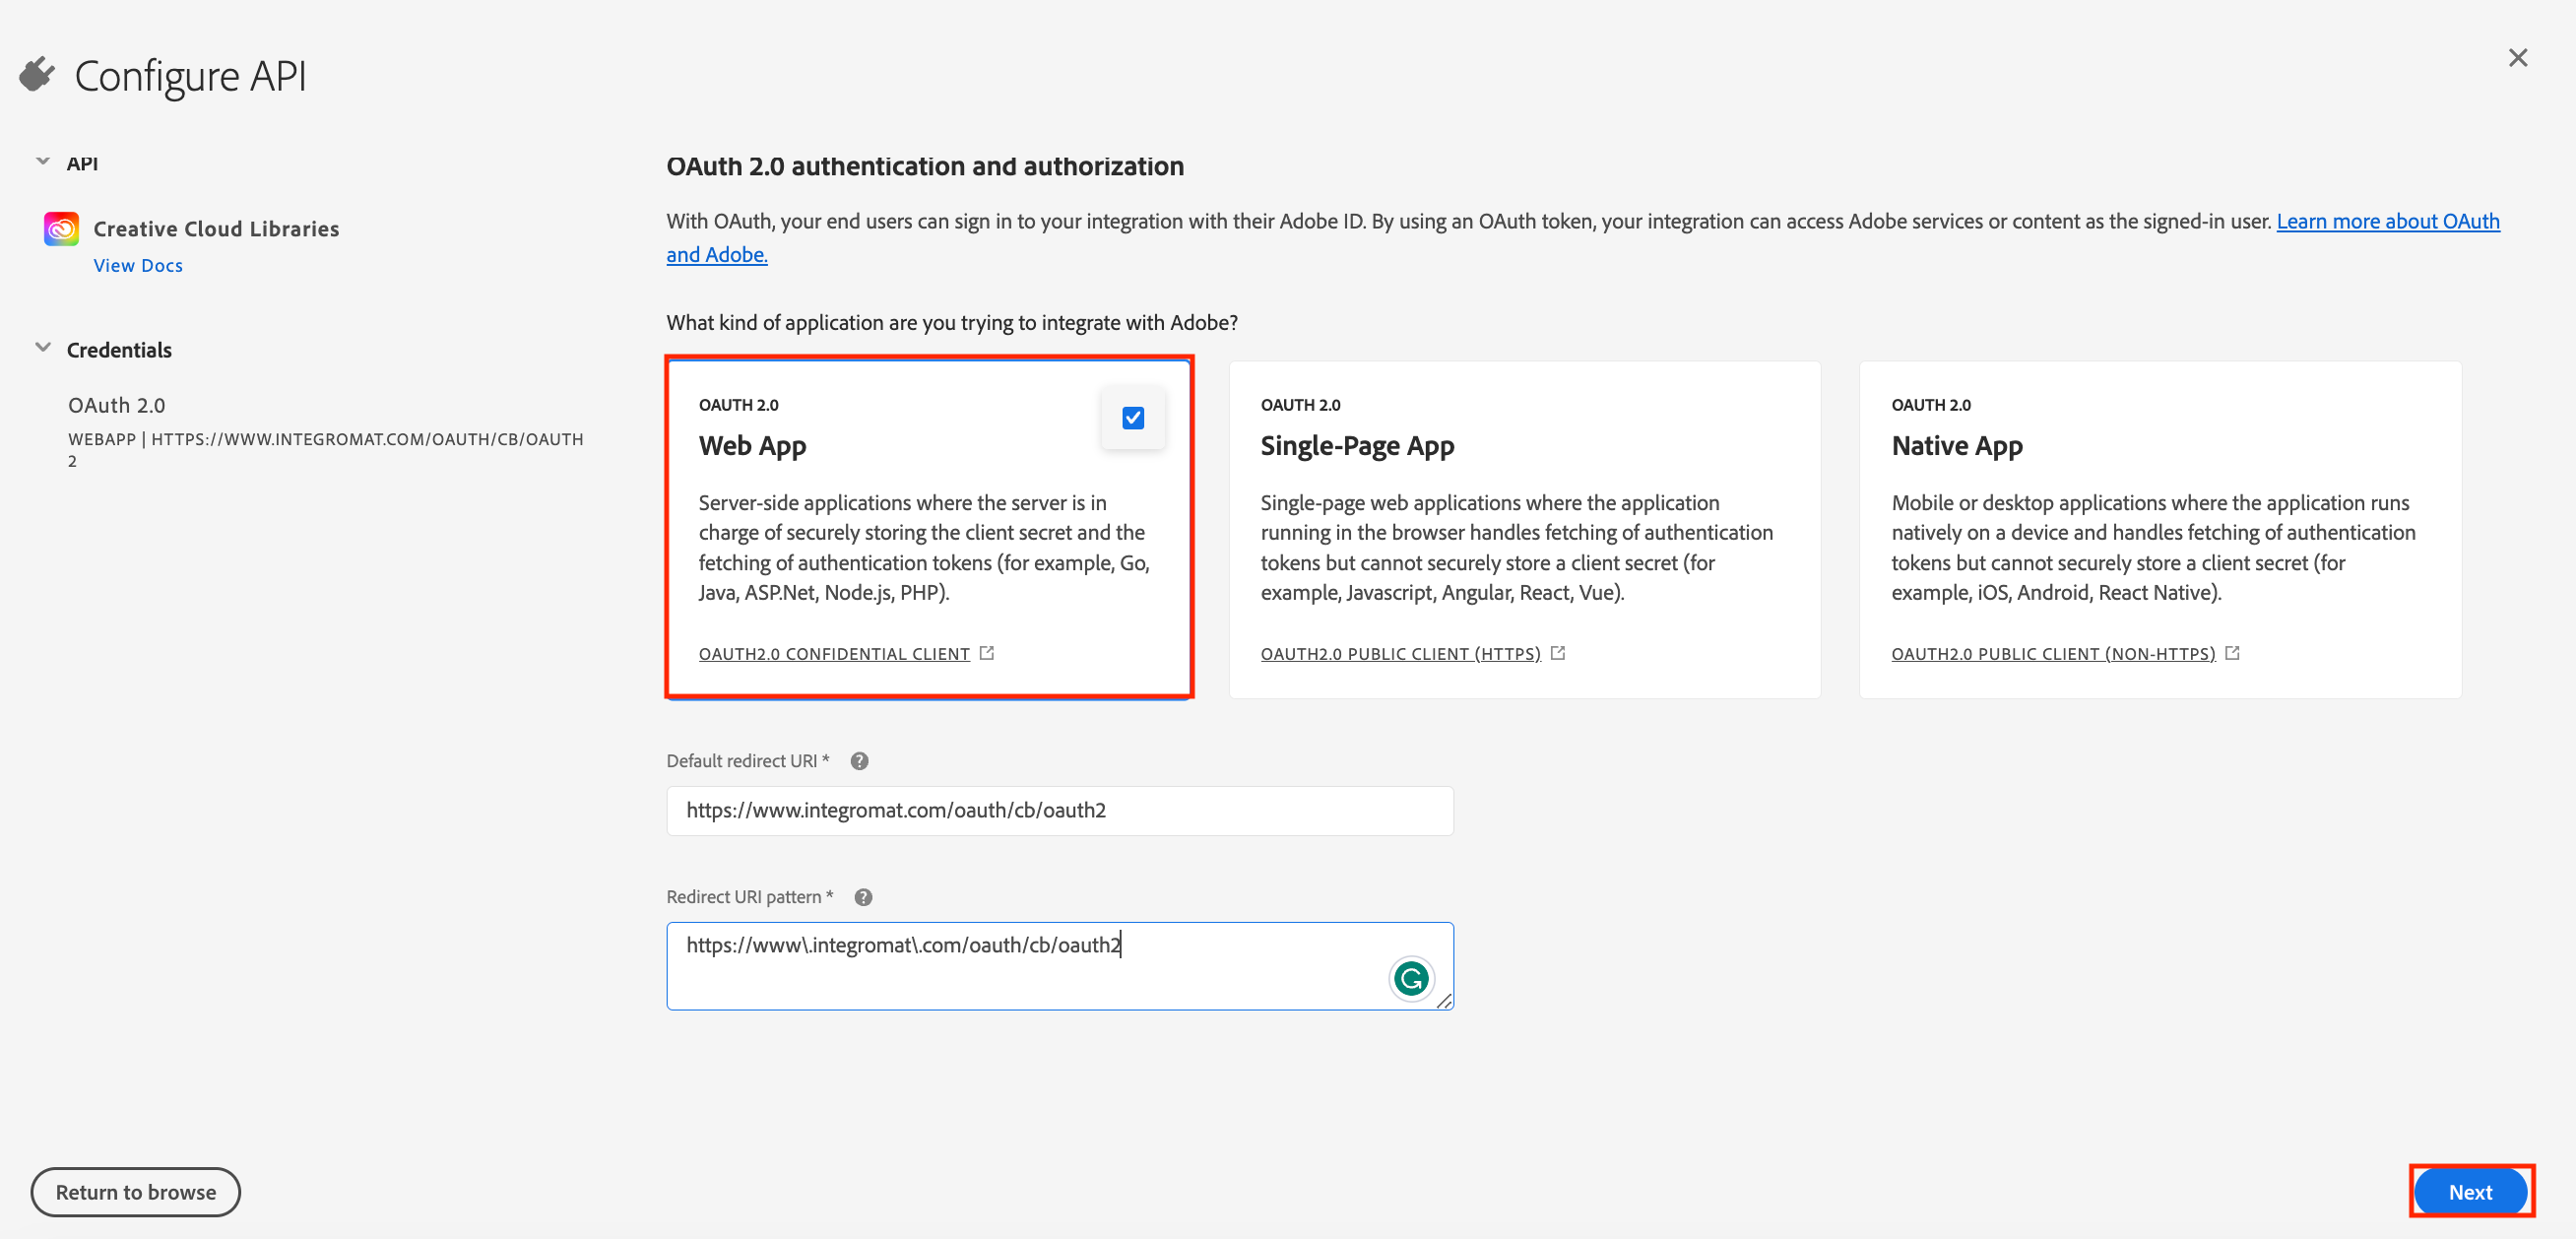
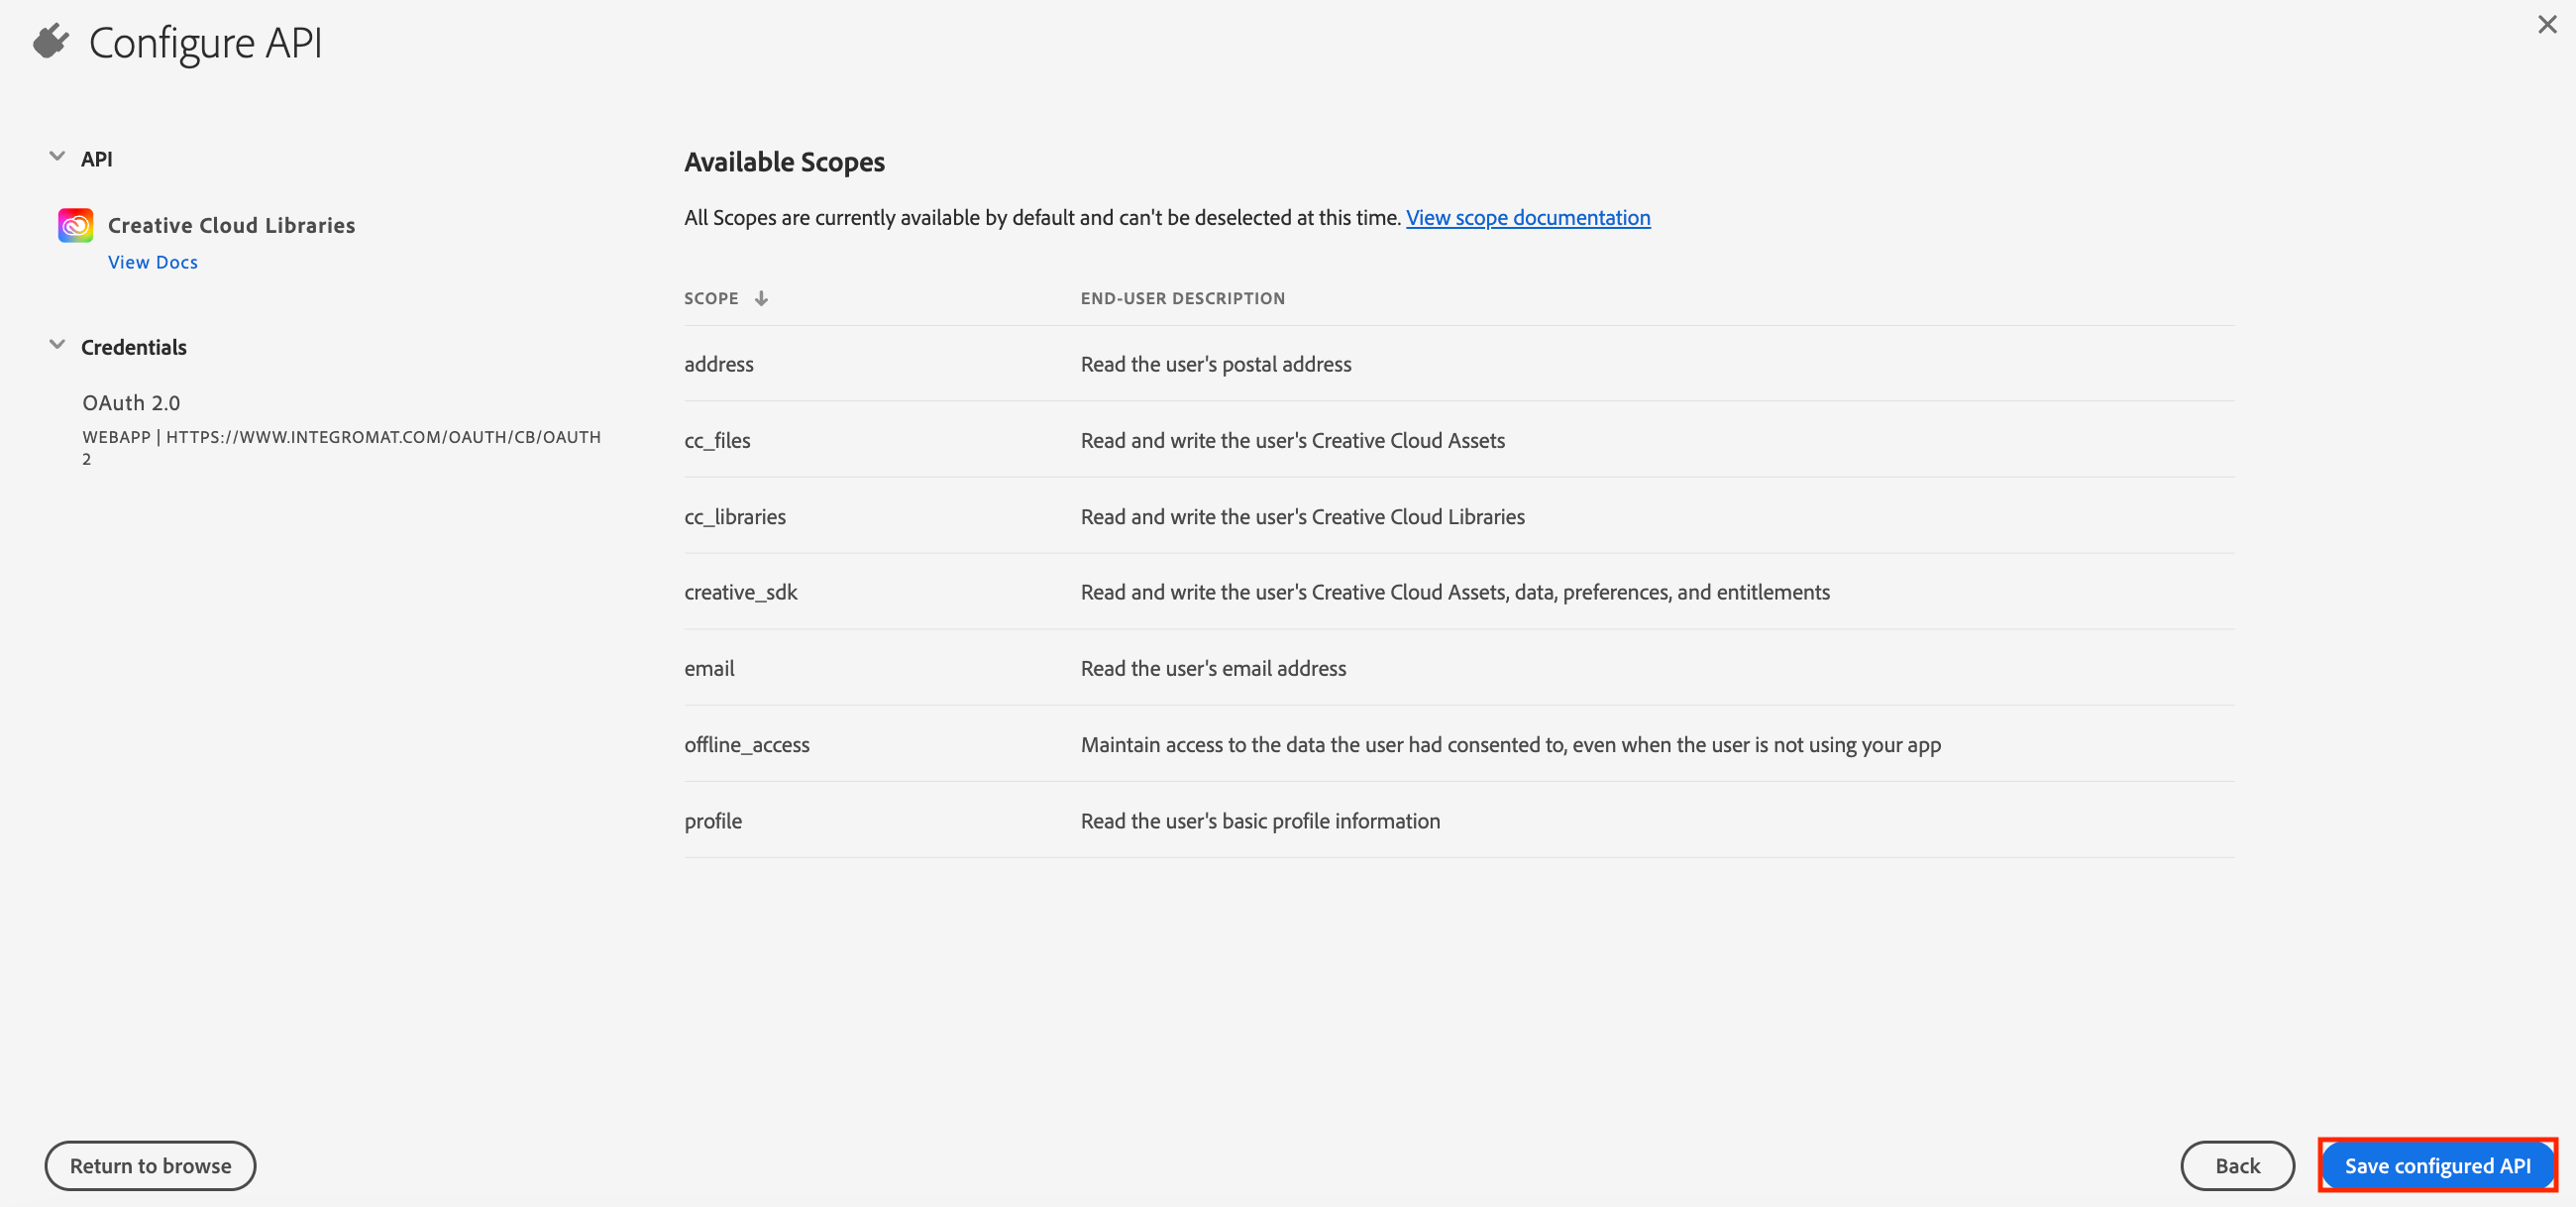
For auth 2.0 authentication and authorization, select Web App, enter the redirect URI and pattern. Click Next.
Click Save configured API.
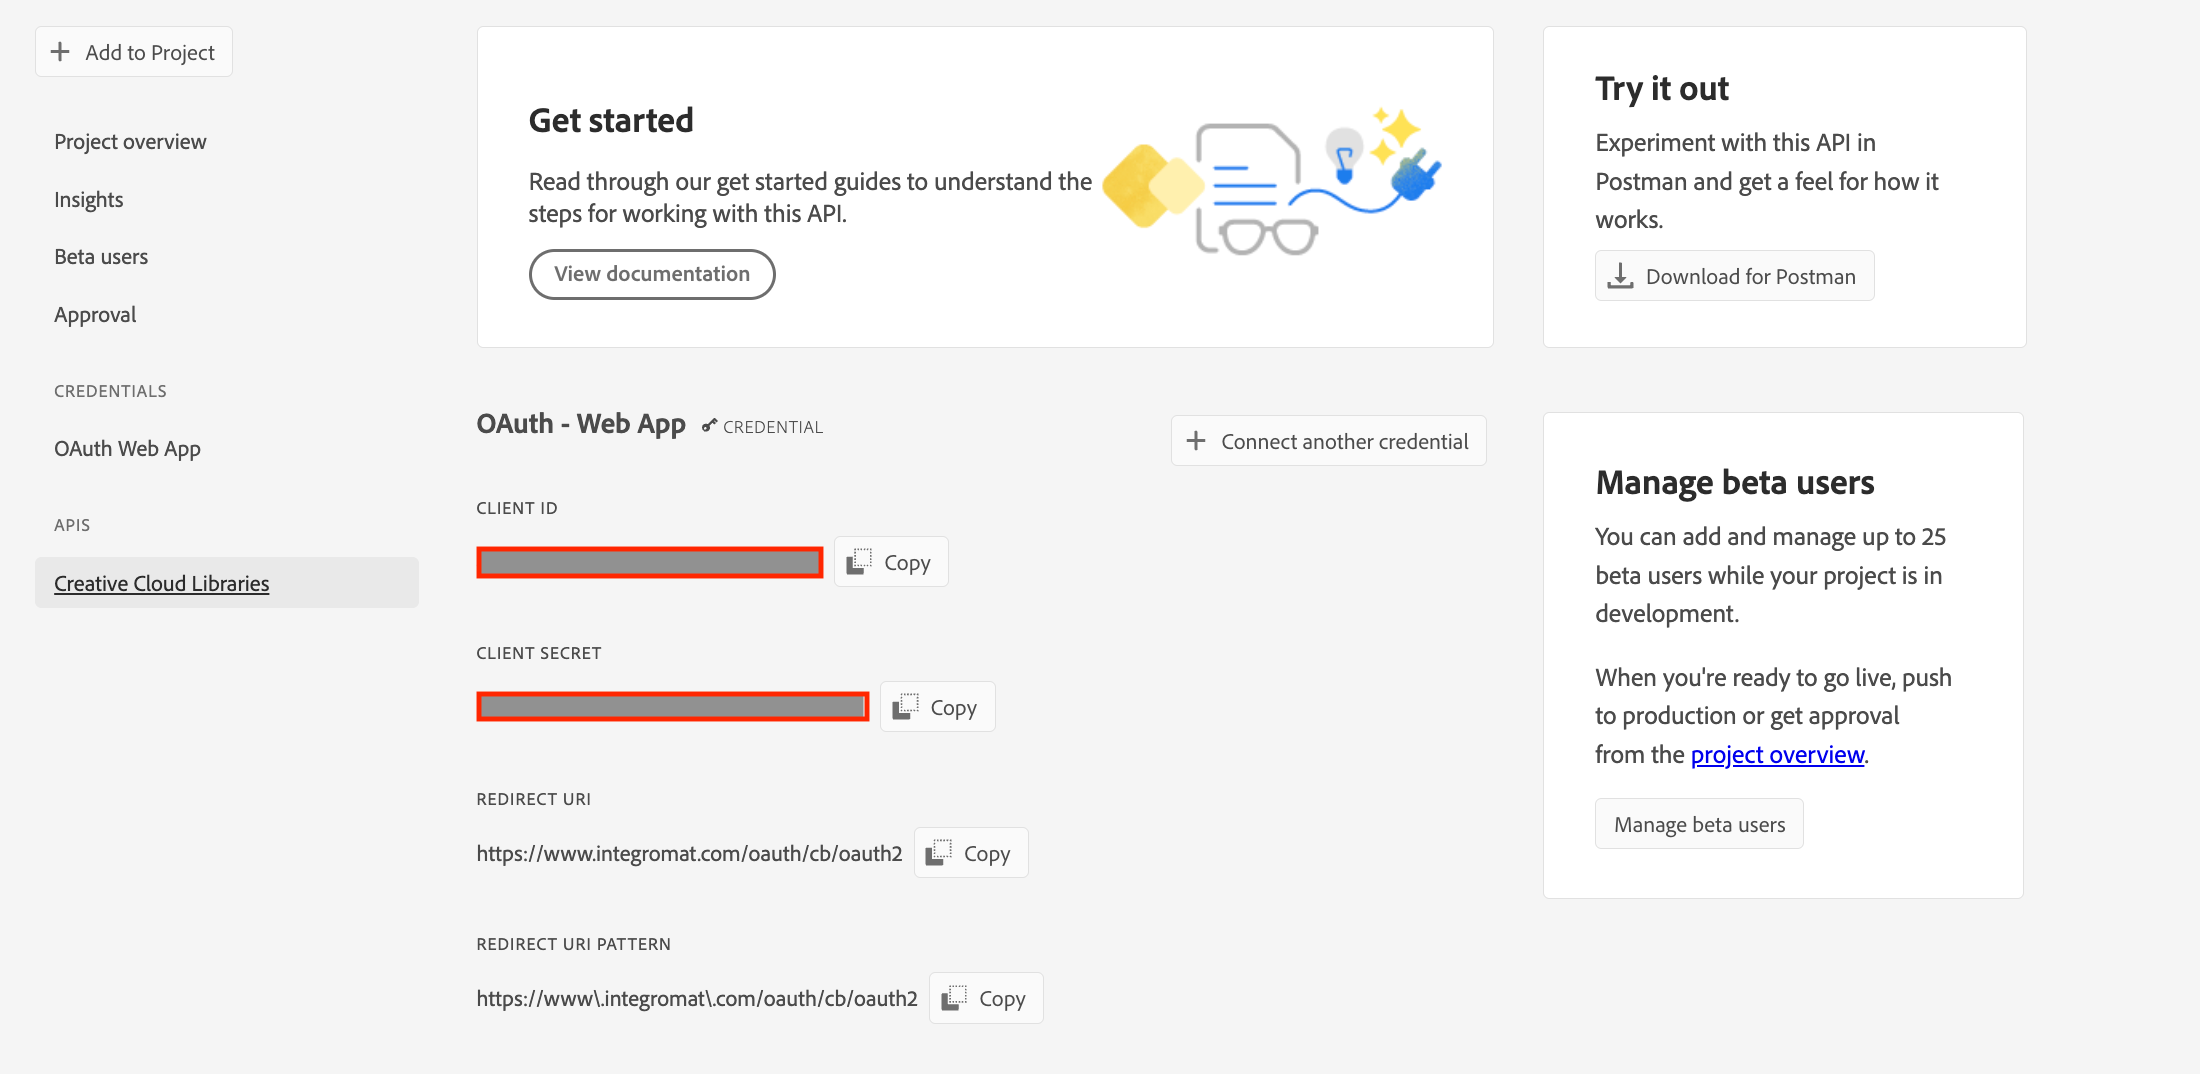
Copy the Client ID and Client Secret to a safe place.
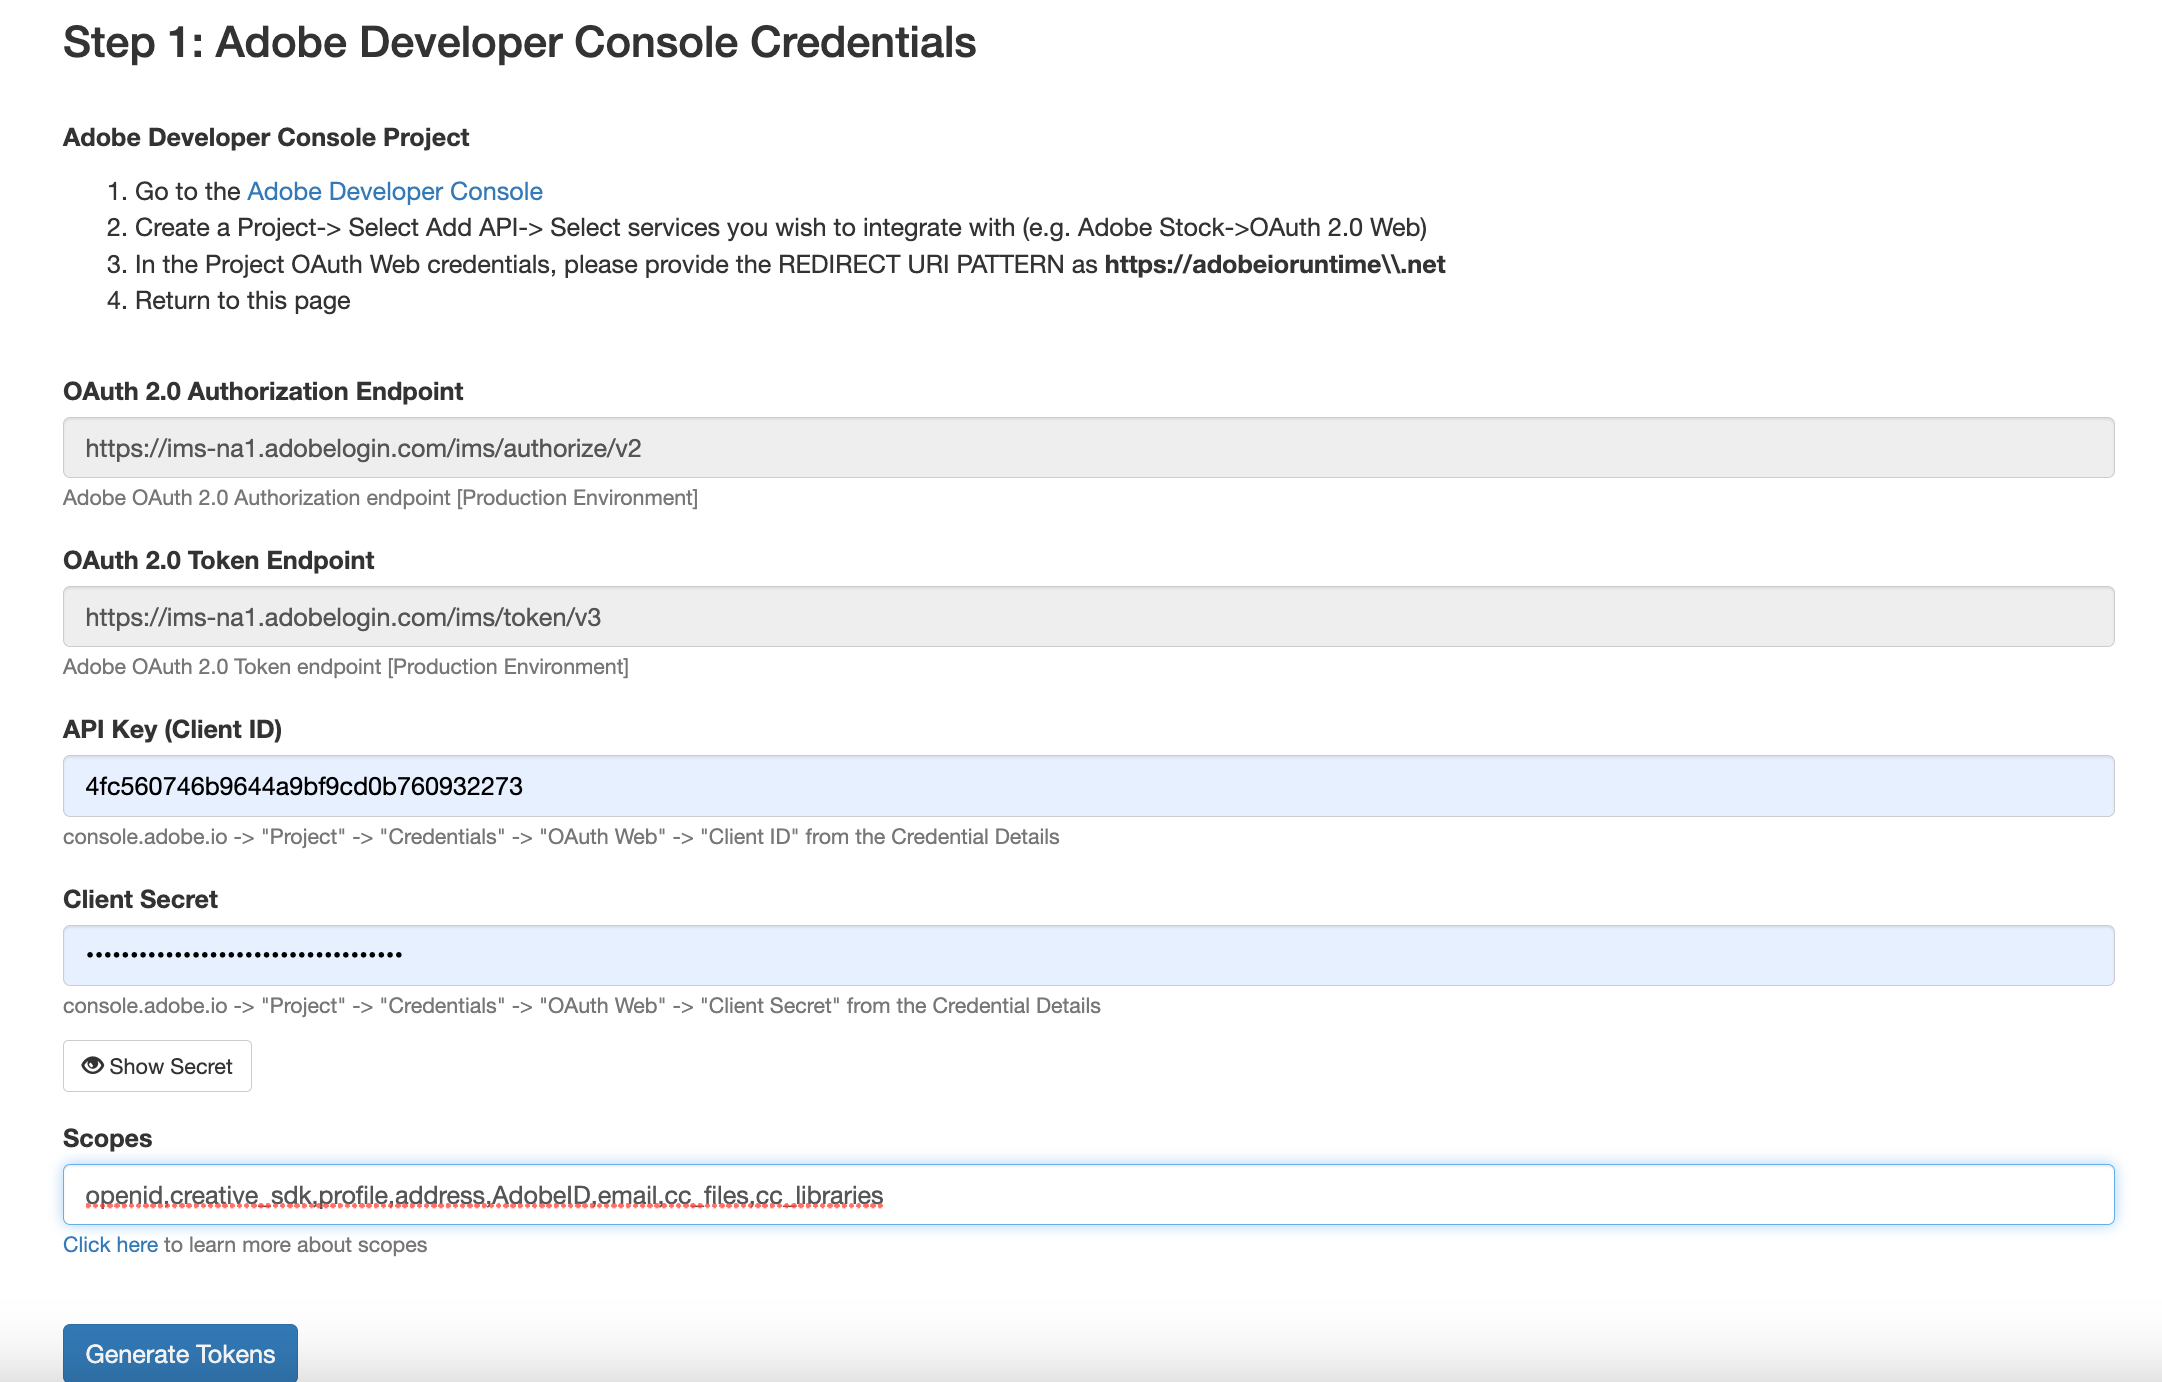
Go to OAuth 2.0 Playground, enter the Client ID, and Client Secret, and add the scopes required. Click Generate Token.
Build Adobe CC Libraries Scenarios
After connecting the app, you can perform the following actions:
Watch New Elements
Watch Updated Elements
List Elements
Get an Element
Upload an Asset
Archive an Element
Watch New Libraries
Watch Updated Libraries
Make an API Call