Scenario editor
Make's visual scenario editor enables you to create and edit scenarios.
Go to Scenarios and click Create a new scenario to open the scenario editor.

Select Edit to edit an existing scenario, or click anywhere on the page of the existing scenario to open the scenario editor.
Module
Modules in Make represent individual steps in your automated process. There are different types of modules.
There is no limit to the number of modules you can add to your scenario. The number of operations depends on your subscription.
In order for Make to communicate with a given app, you need to create a connection.
Depending on the module you have selected, right-click the module to open the following options:
Run this module only
Add a module
Add error handler
Rename
Close
Copy module
Add a note
Delete module
Schedule settings
The schedule settings allow you to set how frequently you want to run your scenario. By default, a scenario runs every 15 minutes. Click the clock to schedule a scenario. You can also access schedule settings via the toolbar by clicking the Schedule settings.
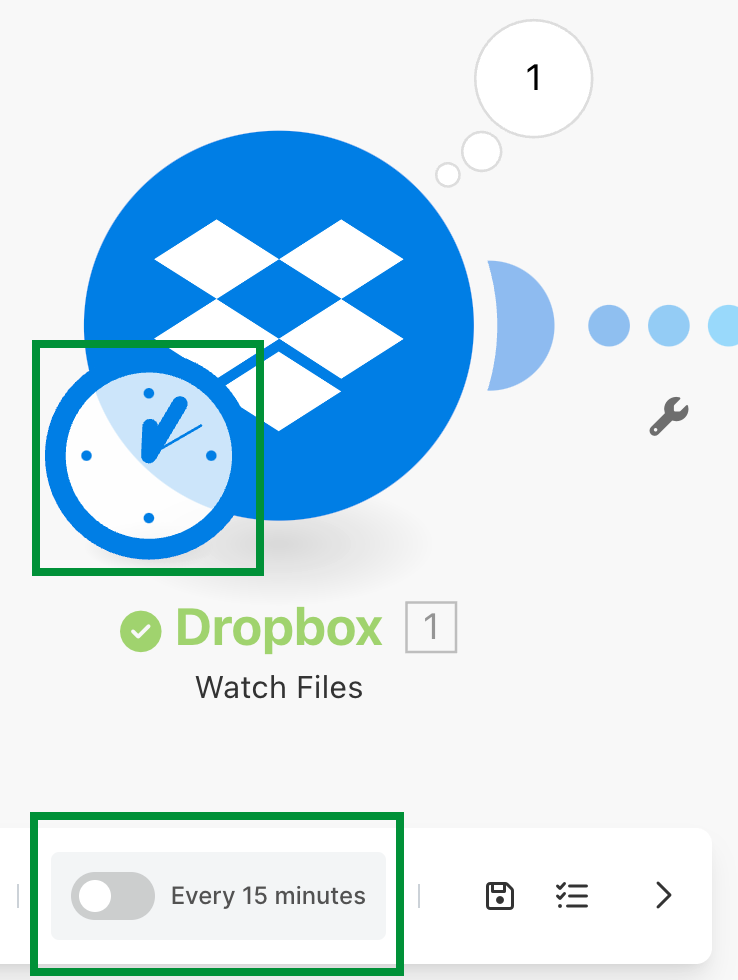
The clock represents a scheduled trigger, the starting point of your scenario. A scenario can also start with an instant trigger, which is visually represented as lightning ( ). Learn about different types of triggers.
Setting up a route
A route is a connection between two modules, visually represented as a dotted line.
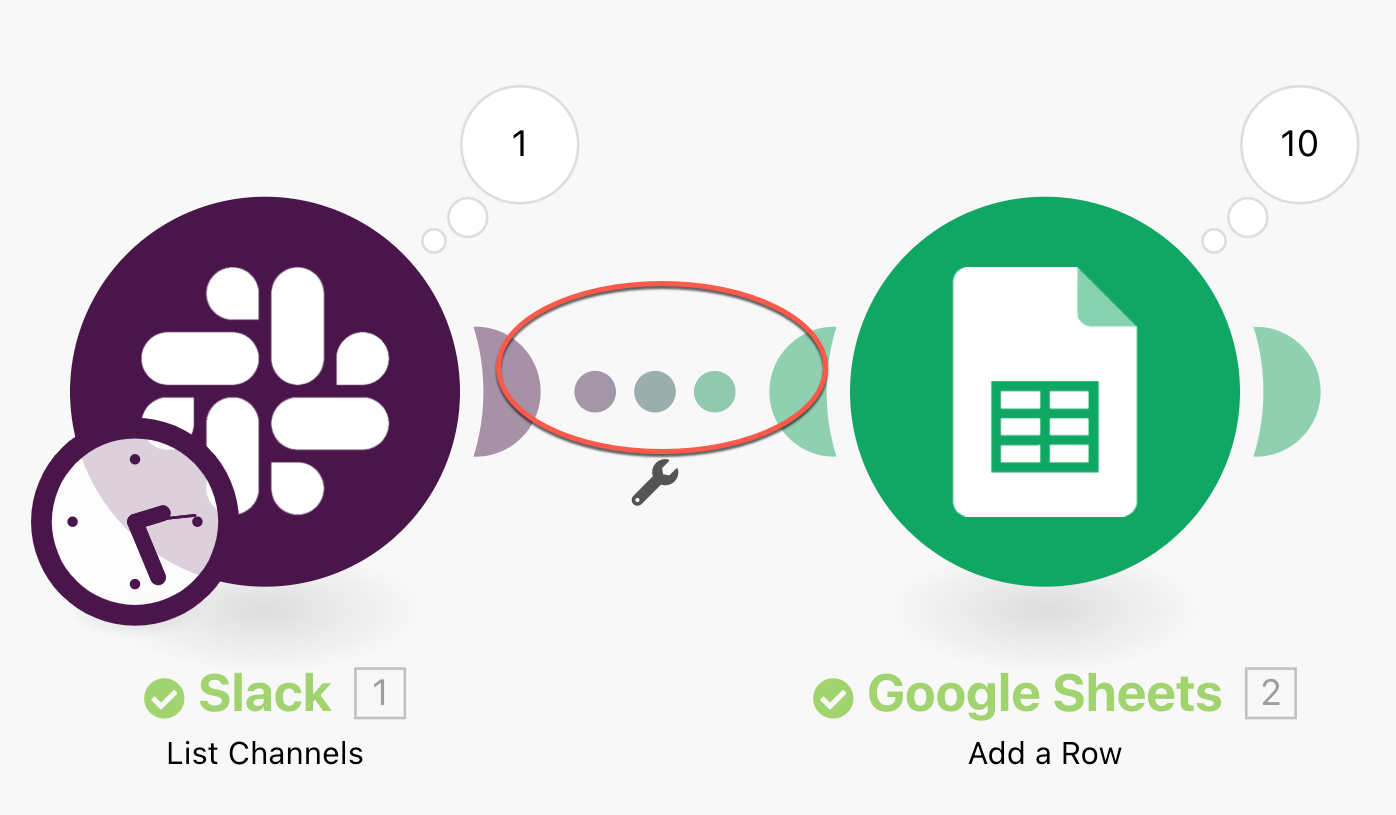
Click the wrench ( ) below the route connecting two modules to display the following options:
Set up a filter - Filters bundles according to specific criteria. You can also access this option by clicking the route connecting two modules.
Unlink - When you unlink a module, it will not be executed, unless it is a trigger.
Add a router
Add a module
Add a note
Adding or removing a module
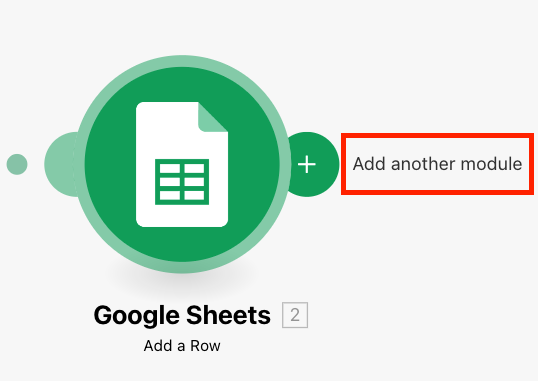
To add a module, click the plus sign to create an empty module. A menu with a list of app/services appears, allowing you to add another module to your scenario.
To remove a module, right-click the module you want to delete and select Delete module.
Scenario toolbar
The scenario toolbar contains tools that help you manage and set up your scenario, like the Run once button or the schedule settings. Scenario toolbar is located at the bottom of the scenario editor.
The scenario toolbar has two forms:
Collapsed:

Expanded:

Note
Scenario logs (number 7) appear after the scenario ran at least once.
1 - Run once
Once you configure your scenario, click Run once to test your scenario. After your scenario executes, you can see the number of operations, as well as more details in the log.
 |
2 - Activating and scheduling
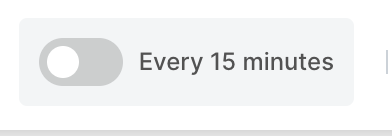
If everything works properly, you can activate the scenario. Click the switch next to schedule settings to activate or deactivate your scenario. The switch has the green color when your scenario is active.
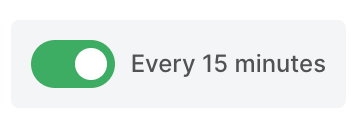
Learn about the difference between active and inactive scenarios.
Next to the activation switch are the schedule settings. After you activate your scenario, Make runs your scenario according to the set schedule. By default, scenarios run every 15 minutes.
If your scenario does not run as expected, check our error handling section.
3 - Scenario tools
Scenario tools are a set of features and functionalities that enable you to manage and inspect scenarios within the scenario editor. Scenario tools are visible in the scenario toolbar as action icons, like the save icon to save the scenario or the settings icon to access the scenario settings.
Save
When you finish editing a scenario, click the save icon to save the current scenario.

Important
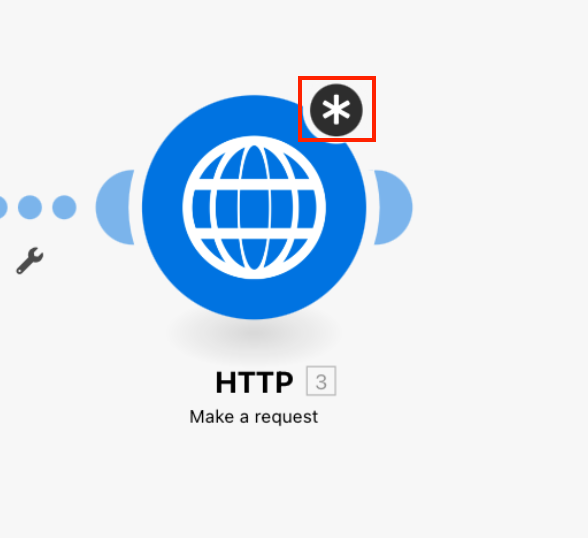
A scenario does not save automatically. If you do not save the scenario and exit it, a pop-up window appears prompting you to save your changes. If module settings are not saved, an asterisk ( ) displays on top of the module, until you press Cancel to discard or OK to save your changes in module settings.
Scenario inputs
Click the scenario inputs button to open the scenario inputs panel. In the scenario inputs panel you can set the input data for your scenario.
Note
If you have access to the scenario inputs feature, the scenario inputs icon shows in the toolbar. Otherwise, the icon is missing.
You can read more about the scenario inputs in the dedicated article.
Scenario settings
Click the gear icon to open the scenario settings.
Notes
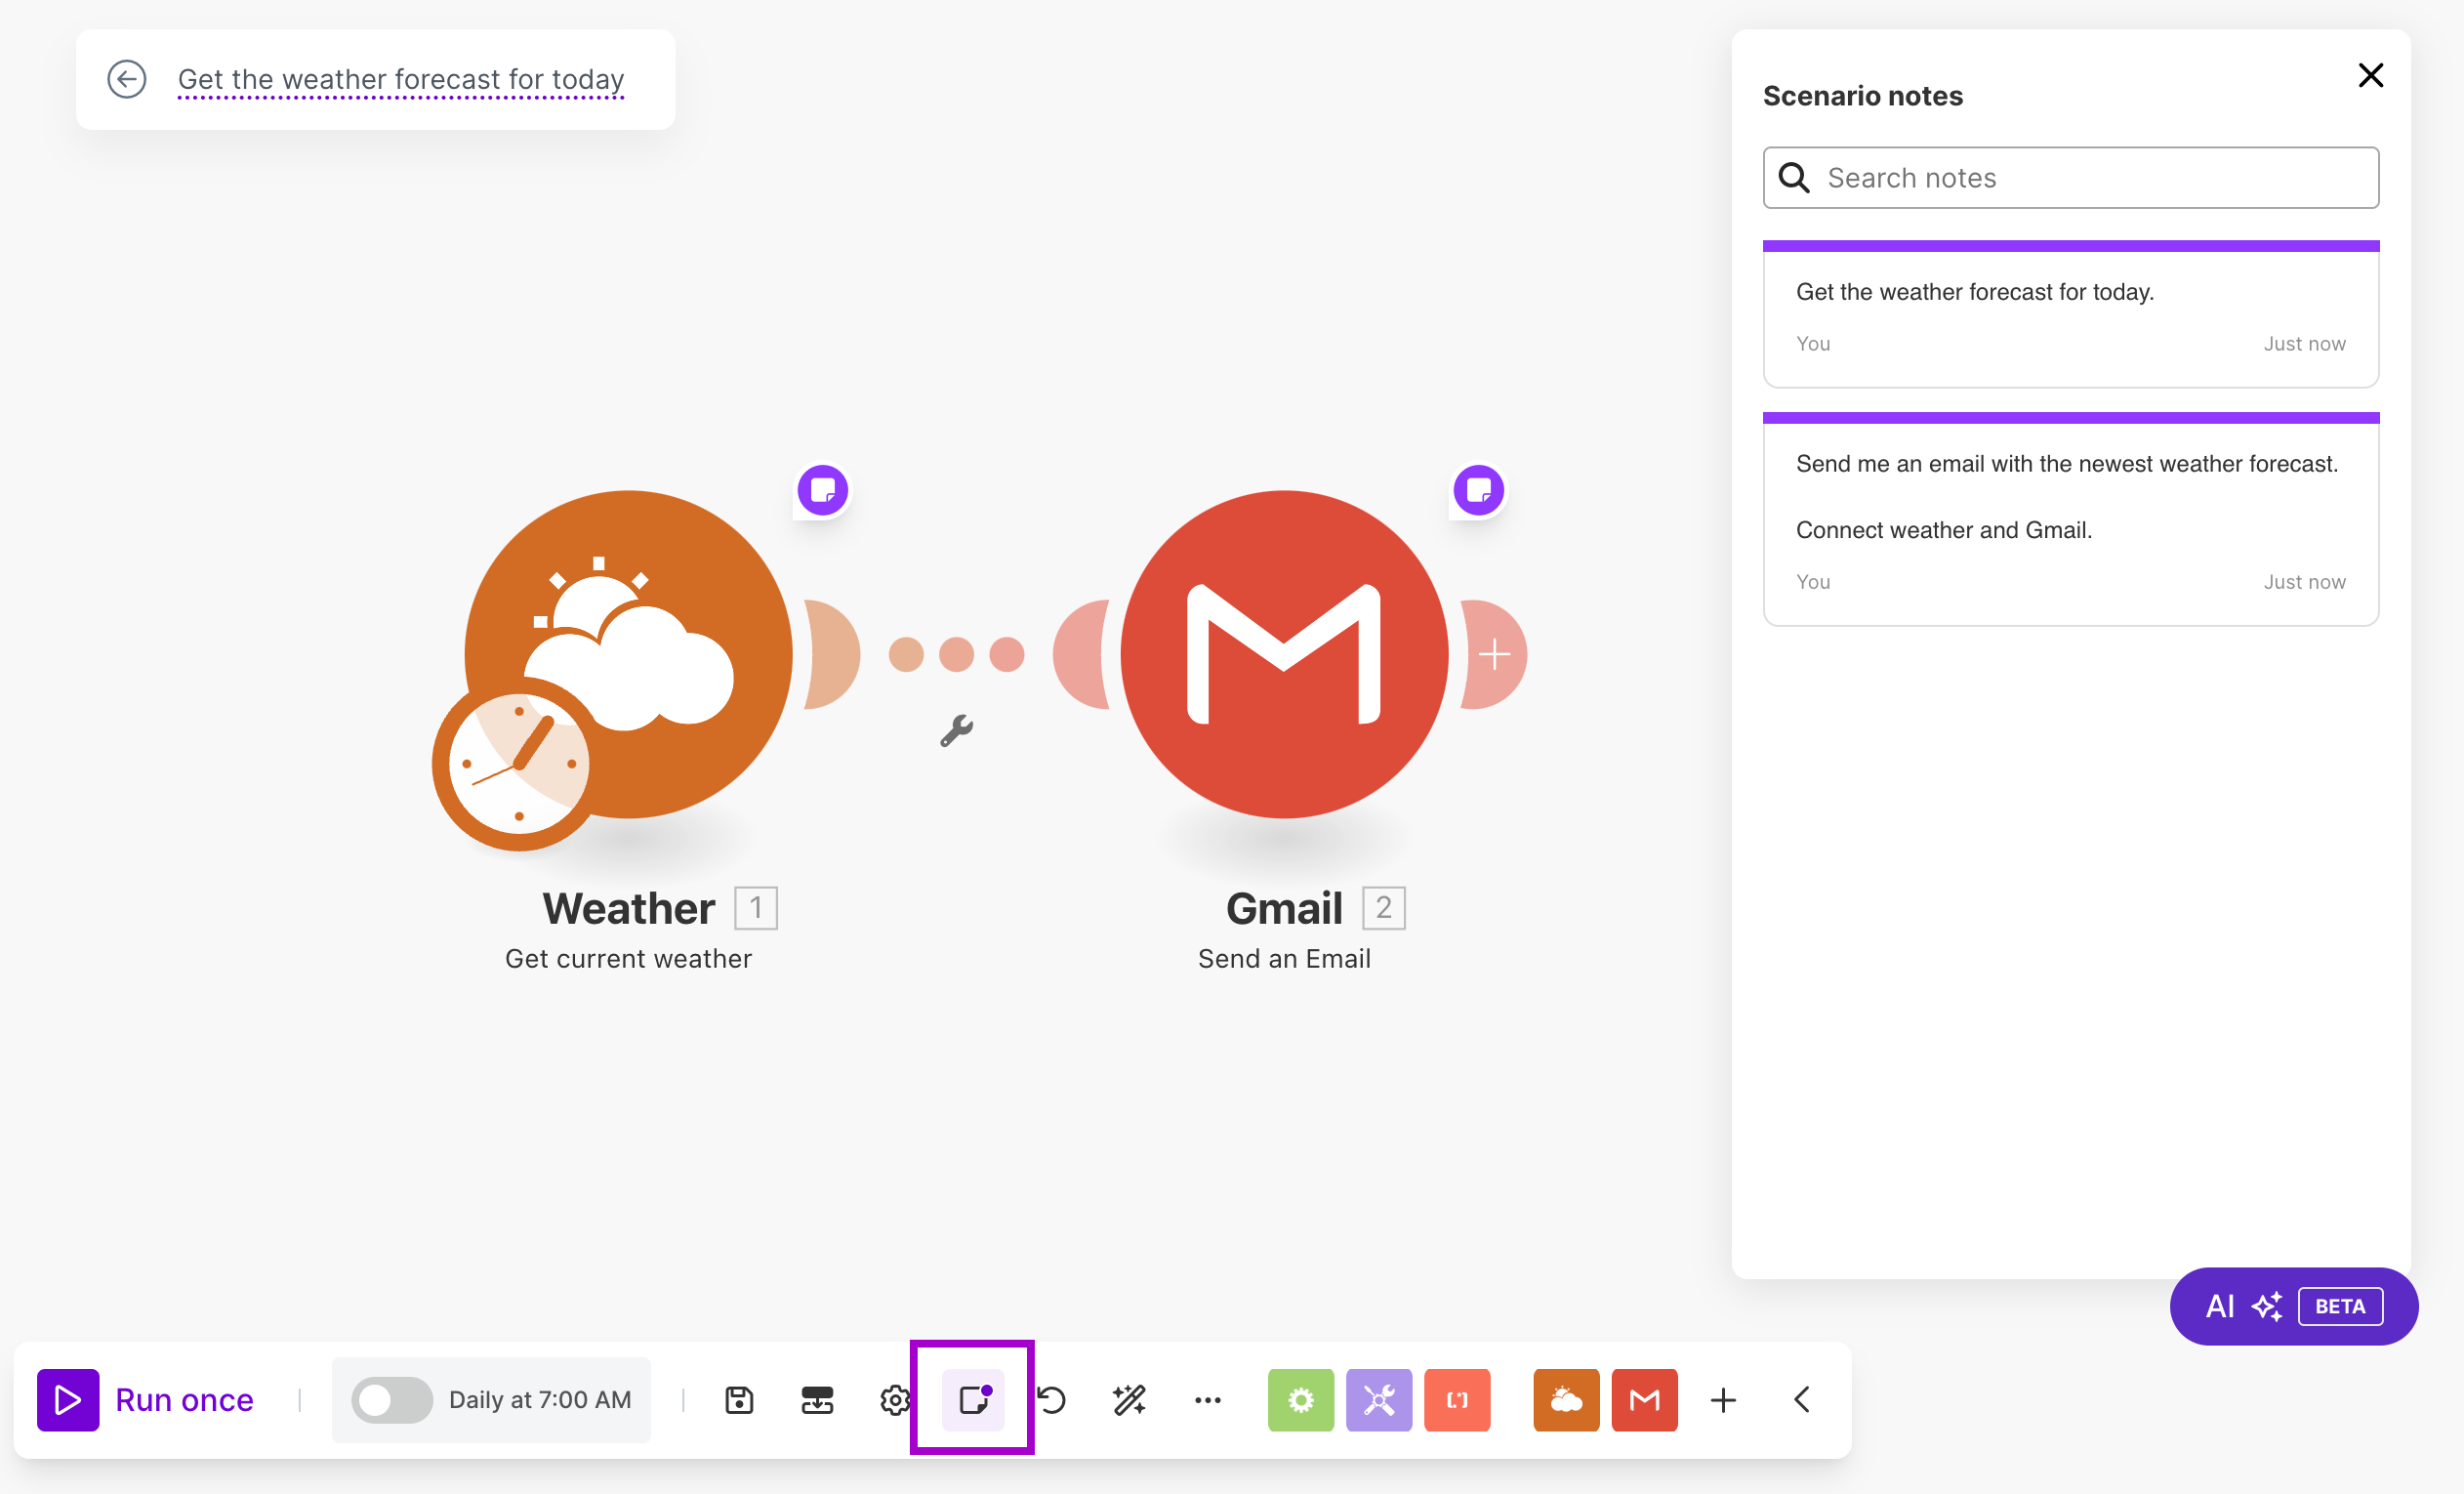
Notes allow you to share information about a scenario with the rest of your team. The sticky note icon shows or hides the note panel.
You can read more about notes in the dedicated article.
Previous versions
Allows you to restore a previous version of the scenario. Learn how to restore a previous scenario version.
Auto-align
Important
This action is not reversible unless you save the scenario before using this function.
Click the magic wand icon to automatically arrange the modules in the scenario.

Note
If you have a router in the scenario, the Auto-align feature arranges modules according to the order you set for the routes.
4 - More scenario tools
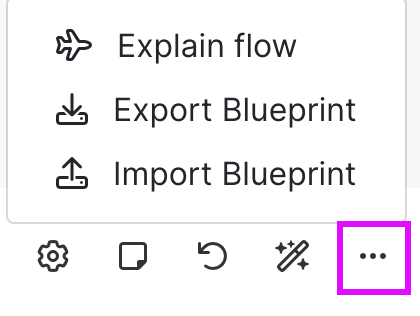
Click the three dots to open the following menu:
Explain flow: Allows you to see the flow of the data between modules. For example, you can check the data flow in the scenario before running it so you can see the effect of routers, iterators or aggregators before running them.
Export Blueprint: Allows you to save the scenario blueprint in the JSON format to your device.
Import Blueprint: Allows you to load a scenario blueprint in the JSON format from your device.
5 - Data apps
In your Make scenarios, you frequently need to modify or process data. The following selection of Make verified and developed apps provides a wide set of modules to help you process data in a scenario:
6 - Frequently used apps
The scenario toolbar contains a list of apps that are used most frequently in the scenario you have opened. You can use the frequently used apps as a quick alternative to searching for an app when adding the app module to the scenario.
When you click the app icon, you get a pop-up with the list of modules of the app. Selecting the app module adds the module to your scenario.
You can also add apps directly to the list by clicking the plus icon at the end of the list.
7 - Log
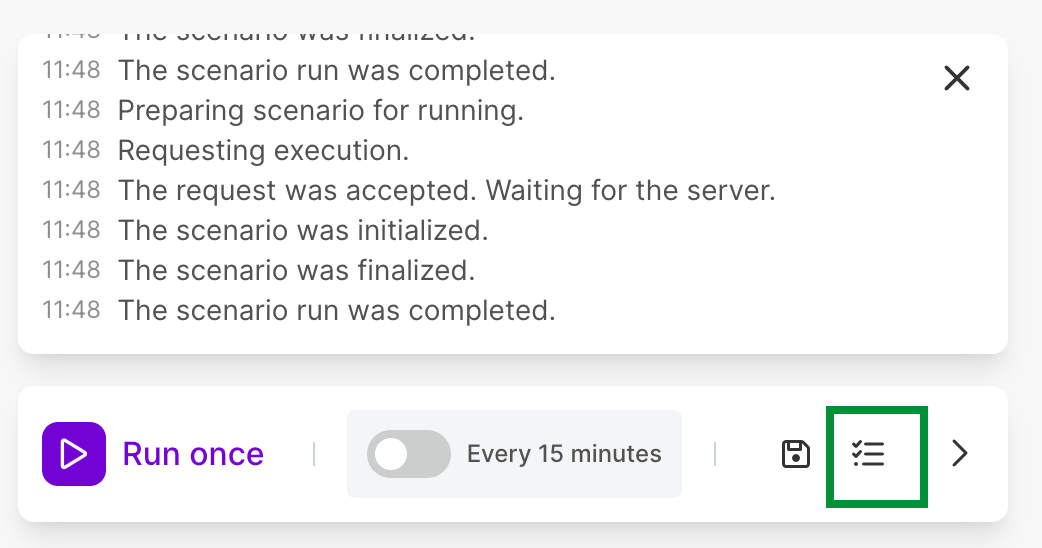
The log records every event that occurs during a single run of a scenario. You can open the scenario log by clicking the log icon in the scenario toolbar:
8 - Expand and collapse the toolbar
The last button on the scenario toolbar switches between collapsed and expanded form of the toolbar.
Number of operations
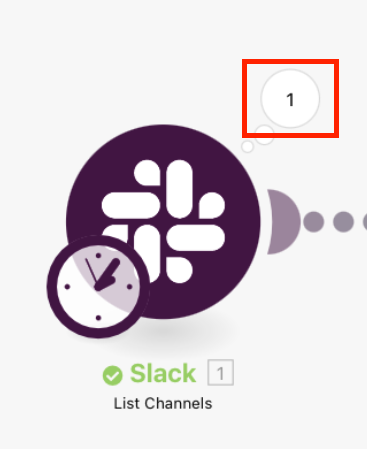
An operation is a task performed by a module. Once the scenario is executed, Make displays the number of operations performed by each module in the white bubble on the top-right of each module. Click the bubble to inspect the results of the module's operation.
Make charges you according to the total number of operations performed by the modules in your scenario. For more information, check how to count the number of operations.
Exit editing
Click the left arrow in the top-left corner to close the scenario editor and return to the scenario detail page.

Scenario name
To rename a scenario, click the scenario name in the top left corner and edit as desired. Press Enter or click outside the edited field to save the scenario under a new name, and click the save icon to save the new name.
