An EverWebinar account. Create an account at main.everwebinar.com/ewmoa-3-step.
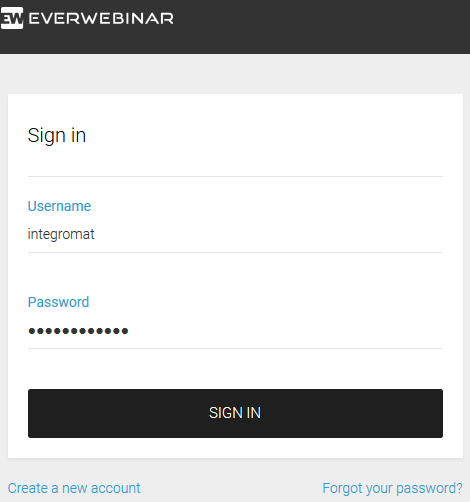
Login to your EverWebinar account.
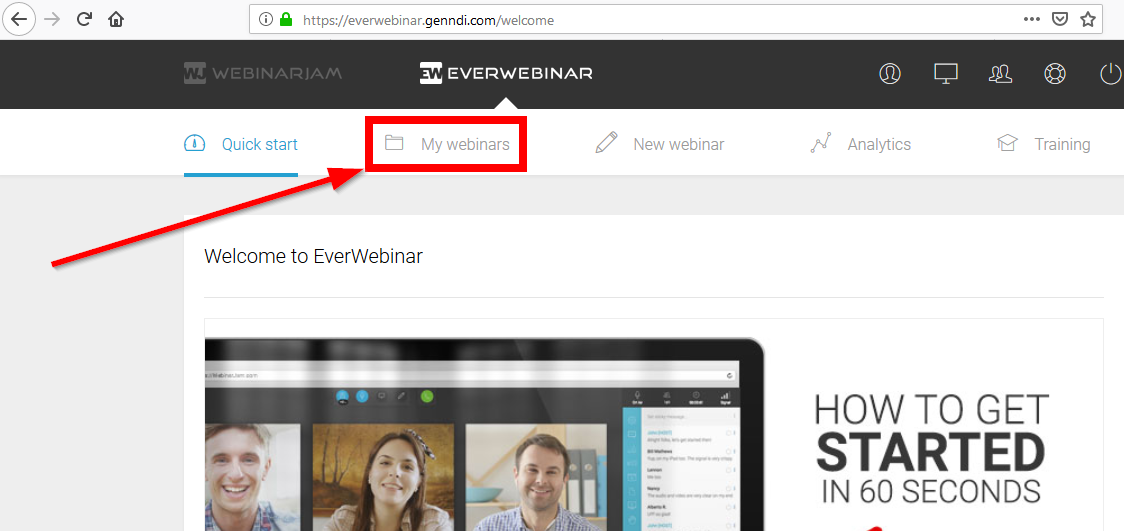
Go to the My webinars page.
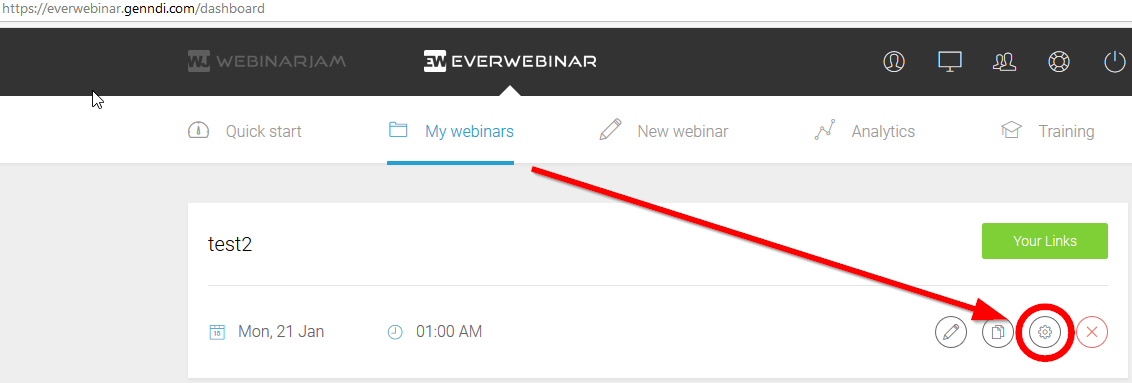
Click on the Advanced Settings icon.
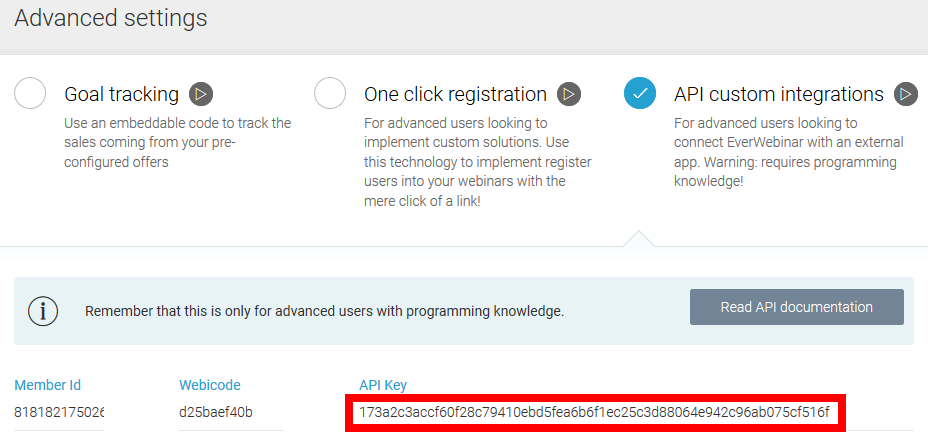
Select the API custom integrations option.

Select and copy the provided API Key.
Paste the API Key into the Make EverWebinar module.
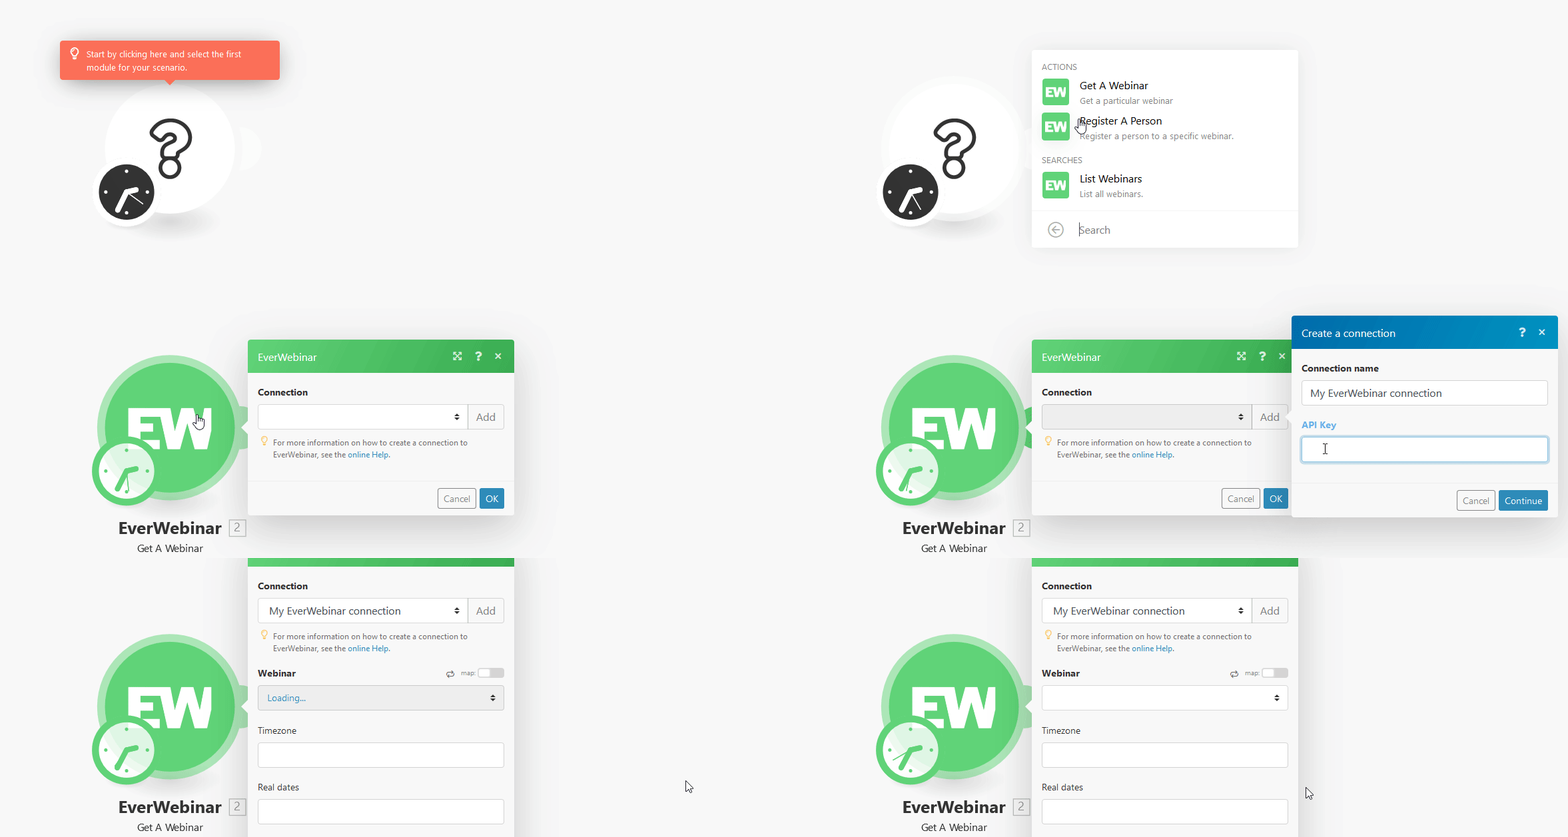
Registers a person to a selected webinar.
Connection | |
Email address | Enter the webinar registrant's email address. |
First name | Enter the webinar registrant's first name. |
Last name | Enter the webinar registrant's last name. |
Webinar | Select the webinar you want to register the person to. |
Schedule | Enter the schedule ID. E.g. "0" as the schedule index number. Can be obtained from other modules (e.g. Get a Webinar): 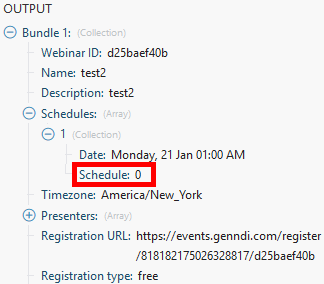 |
IP address | Enter the custom IP address if needed. |
Phone country code | Enter the phone country code without "+". This field is optional. |
Phone | Enter the phone number using only numbers. This field is optional. |
Timezone | Select the timezone. Required if your webinar timezone is set to “Auto-detect the user’s time zone”. Examples: GMT-5 or GMT+2 or GMT+4:30 |
Real dates | If enabled, the user will be registered to the very next upcoming selected schedule. Please note that, by enabling this parameter, you may also register the user to the 'Just in Time' and 'Instant Replay' schedules. |
Retrieves information about a selected webinar.
Connection | |
Webinar | Select the webinar you want to get information about. |
Timezone | Select the timezone. Required if your webinar timezone is set to “Auto-detect the user’s time zone”. Examples: GMT-5 or GMT+2 or GMT+4:30 |
Real dates | If enabled, the user will be registered to the very next upcoming selected schedule. Please note that, by enabling this parameter, you may also register the user to the 'Just in Time' and 'Instant Replay' schedules. |
Retrieves a list of all your webinars in EverWebinar.