Survey123
The Survey123 modules allow you to monitor survey response submissions and create feature reports in your Survey123 for ArcGIS account.
Getting Started with Survey123
Prerequisites
An ArcGIS Online account
In order to use Survey123 with Make, it is necessary to have an ArcGIS account. If you do not have one, you can create an ArcGIS account at www.arcgis.com/home/createaccount.html.
When the account is created, you can proceed to survey123.arcgis.com/surveys.
Note
The module dialog fields that are displayed in bold (in the Make scenario, not in this documentation article) are mandatory!
Connecting Survey123 to Make
To connect your Survey123 account to Make, follow the general instructions for Connect an application.
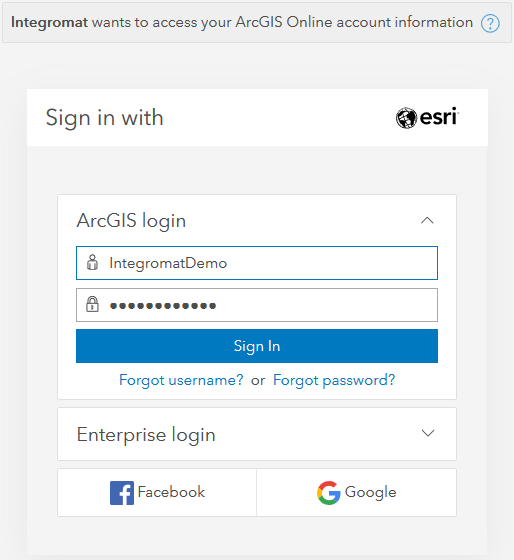
After you click the Continue button, Make will redirect you to the Survey123 website where you will sign in using your ArcGIS credentials.

Triggers
Triggers when a survey is submitted.
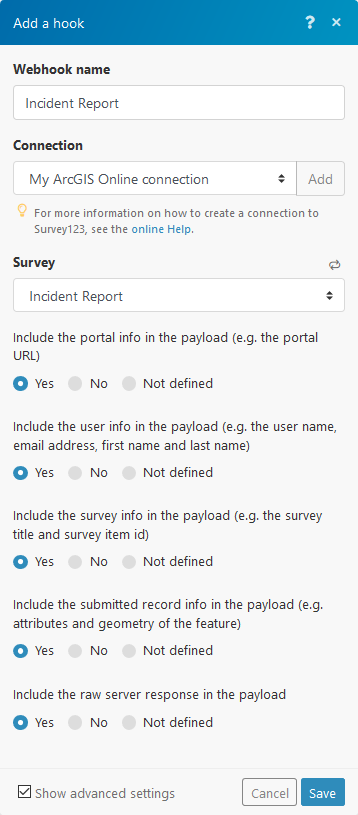
Webhook name | Enter a name for the webhook. |
Connection | Establish a connection to your Survey123 account. |
Survey | Select a survey you want to retrieve information and responses for. |
Event data options (advanced settings) | Select the information you want to include in the payload. NoteKeeping the default value of Yes is recommended for all options, giving you the most flexibility when customizing your webhook. |

To process information retrieved by this module, connect the module to another module (e.g. Gmail > Send an Email, or Google Sheets > Add a Row) and map the desired fields from your survey.
Actions
Creates a report file. The file can be then downloaded using the HTTP > Get a File module and, for example, uploaded to your Dropbox folder using the Dropbox > Upload a File module.
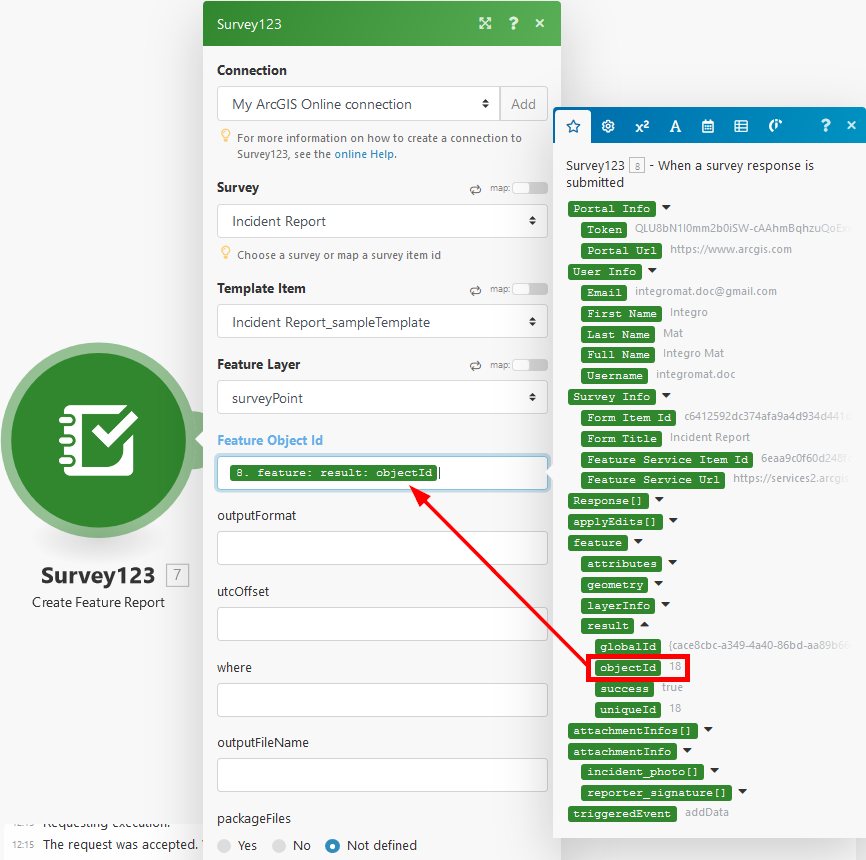
Connection | Establish a connection to your Survey123 account. |
Survey | Select a survey you want to create a report from. |
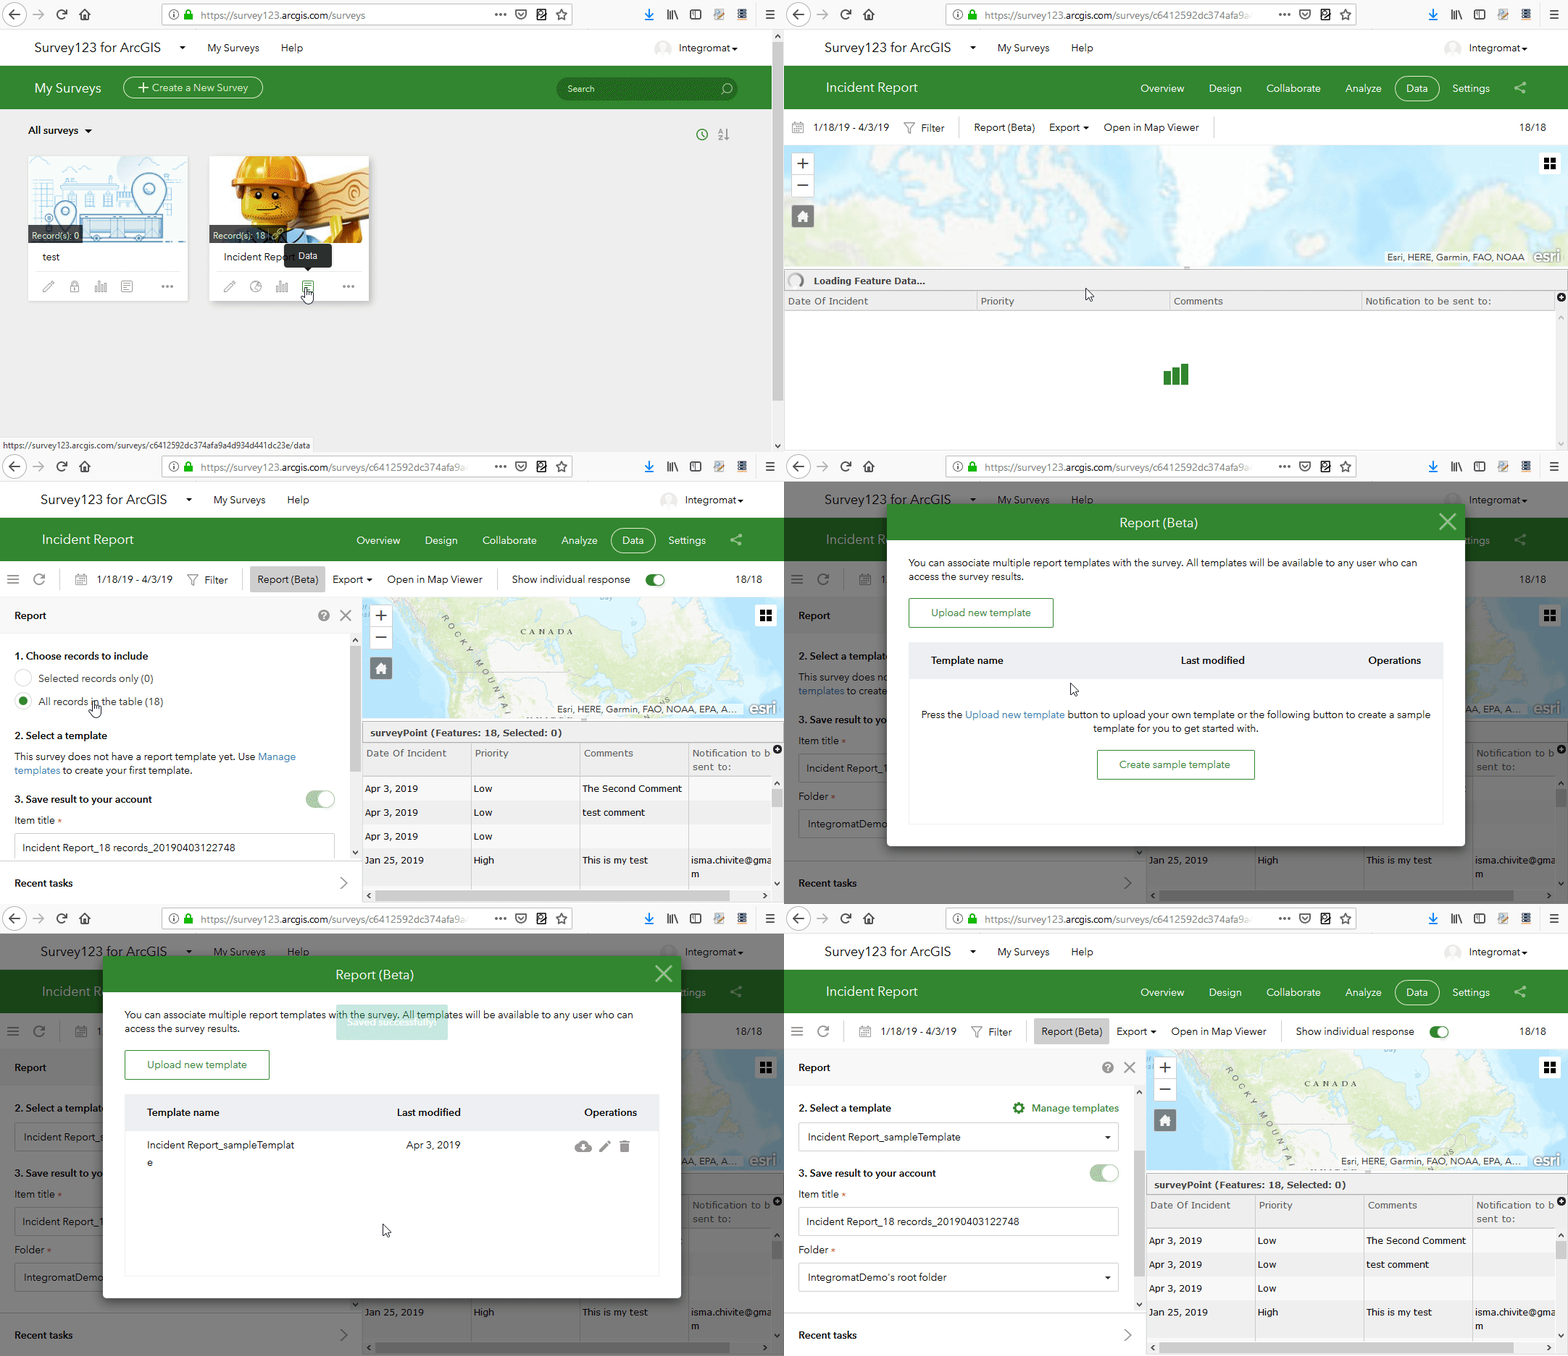
Report Template | Select the template you want to use. The template must be already created using the Report tool in the Survey123 Online. The Report Template is a Microsoft Word document defining the look and feel of your report.  |
Feature Layer | Select the feature layer. E.g. |
Feature ObjectID | Enter or map the Feature ObjectID. This is the ObjectID of the survey record to be included in the report. You can specify either a single value (for example,  |
UTC Offset | Select the time offset from UTC to match your timezone. All survey data is stored in UTC time. If you would like report dates and times to be shown in the local time, apply the appropriate offset. |
Further reading
Survey123 Tricks of the Trade: Make - A blog post discussing a few techniques to take your use of Survey123 within Make to the next level.